


Golf enthusiasts often dream of having their own golf simulator at home. A DIY golf simulator setup is not only a fun project, but it also allows you to enjoy the game regardless of weather conditions. This guide will walk you through creating your own golf simulator, ensuring you hit all the right shots in your indoor golf paradise.
Understanding Golf Simulators
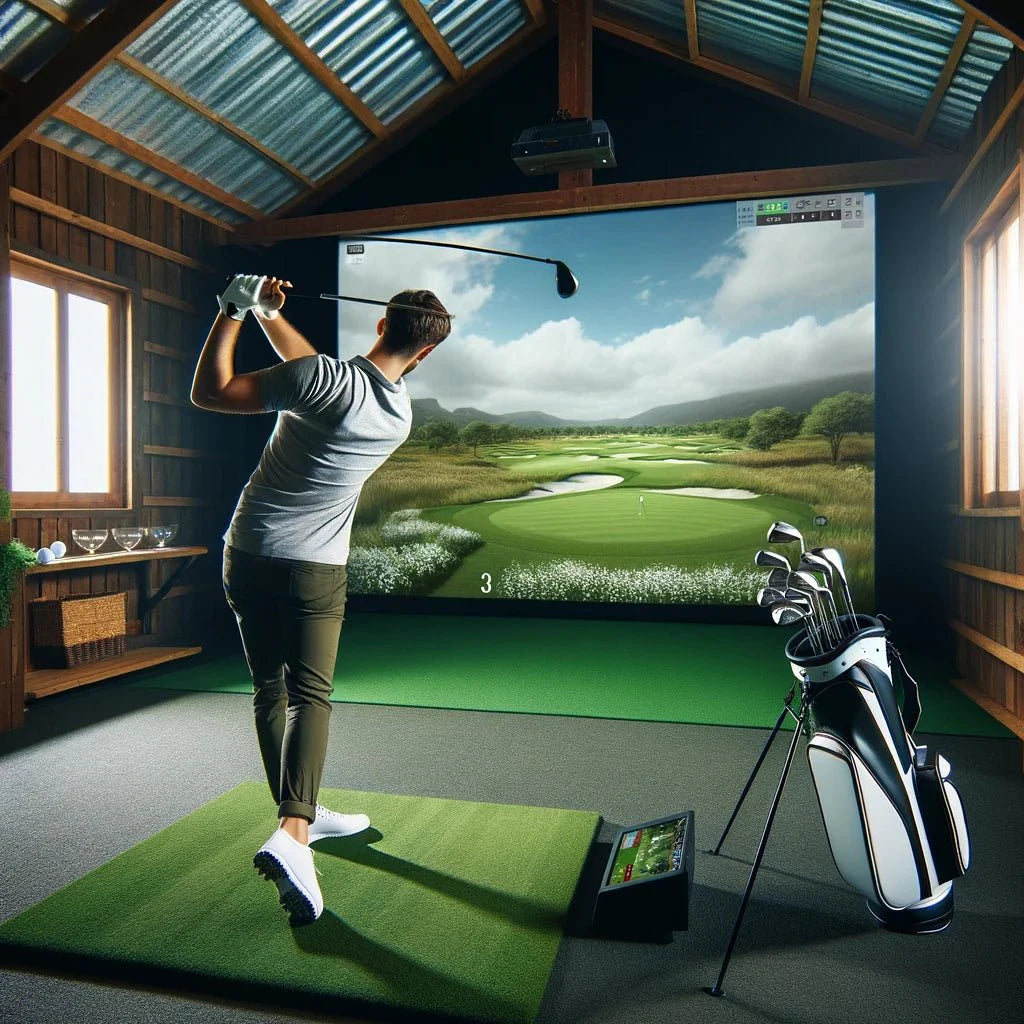
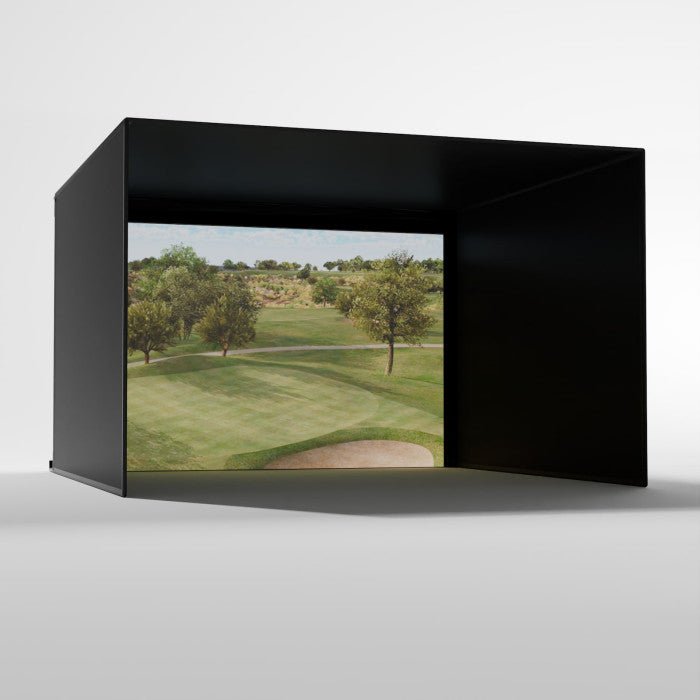
A golf simulator replicates the golfing experience electronically. It typically consists of a launch monitor, simulation software, a projector, a hitting mat, and an impact screen, all enclosed in a dedicated space. These components work together to provide realistic feedback on golf balls' flight, club data, and more.
Planning and Preparation

Creating a DIY golf simulator requires careful planning and preparation. This section will guide you through assessing space requirements, budget considerations, and safety tips to ensure a successful setup.
Assessing Space Requirements
-
Room Dimensions: Home golf simulators require a space of at least 10-12 feet wide, 15-20 feet long, and have a ceiling height of at least 9-10 feet. These dimensions allow for a comfortable swing without risk of hitting the ceiling or walls.
-
Location: Choose a space where noise won’t be an issue, like a basement or a detached garage. Consider the flooring material as well; carpet or padding can help reduce noise and protect the floor.
-
Electrical Outlets: Ensure there are enough power outlets for the projector, launch monitor, and computer running the simulator software.
Budget Considerations
-
Basic vs. Advanced Setups: A basic DIY golf simulator can cost as little as $1,000, while more advanced setups with high-end equipment can exceed $10,000. Decide on your must-haves versus nice-to-haves.
-
Component Costs:
-
Launch Monitor: $300 - $7,000
-
Projector: $500 - $2,000
-
Impact Screen and Enclosure: $200 - $2,000
-
Hitting Mat: $100 - $500
-
Computer or Software: $500 - $3,000
-
-
Additional Expenses: Include costs for accessories like nets, lighting, decoration, soundproofing, and furniture.
Safety Tips
-
Space Clearance: Ensure there’s enough room around the simulator to swing your golf club freely at the golf ball without the risk of hitting anything.
-
Netting and Enclosures: Install a durable golf net or golf enclosure to catch stray golf balls, protecting the room and its occupants.
-
Lighting: Make sure the lighting in the room doesn’t cause glare on the screen and doesn't interfere with the launch monitor’s sensors.
-
Soundproofing: If the simulator is in a shared space, consider soundproofing to minimize disturbance to others.
Additional Considerations
-
Ventilation: Ensure good air circulation, especially if you’re setting up in a basement or enclosed space.
-
Furniture: Plan for comfortable seating and perhaps a small area for refreshments to enhance the experience.
-
Technology Compatibility: Check that all the components are compatible with each other, especially the launch monitor with the simulation software.
-
DIY vs. Professional Help: Decide if you will install the setup yourself or if you need professional help, especially for electrical or structural modifications.
By thoroughly addressing these aspects in the planning and preparation stage, you set the foundation for a successful and enjoyable DIY golf simulator setup. This foresight not only ensures a smoother installation process but also enhances your overall golfing experience, making your investment in a home golf simulator truly worthwhile. Remember, the key to a successful DIY golf simulator setup lies in balancing your desires with practical considerations, ensuring you create a space that is both functional and enjoyable for your golf simulation needs.
Choosing the Right Equipment

Selecting the right equipment is crucial for an optimal golf simulation experience. This section will delve into the specifics of each component needed for your DIY golf simulator setup.
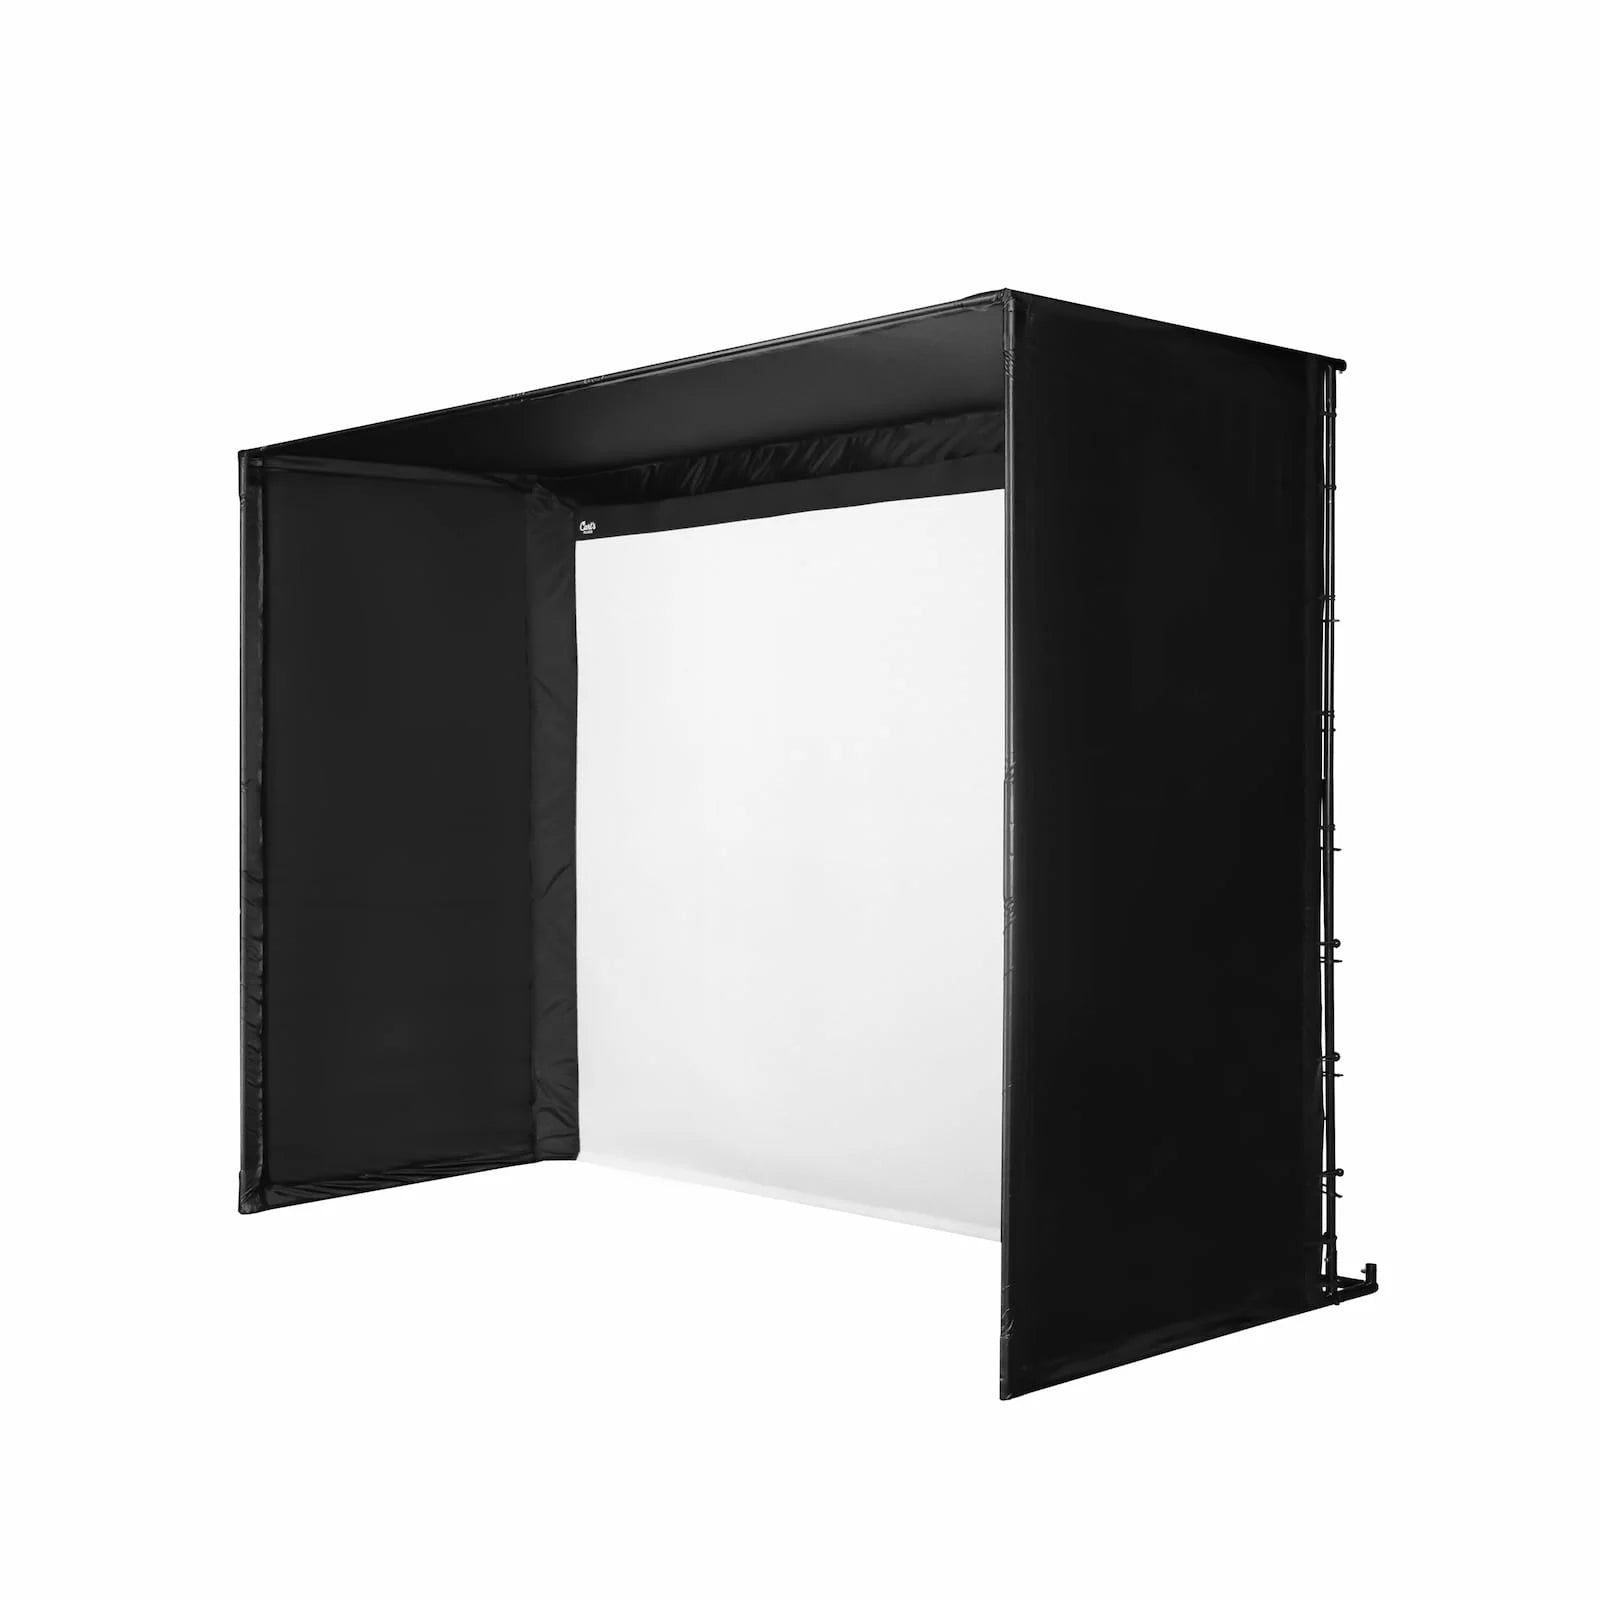
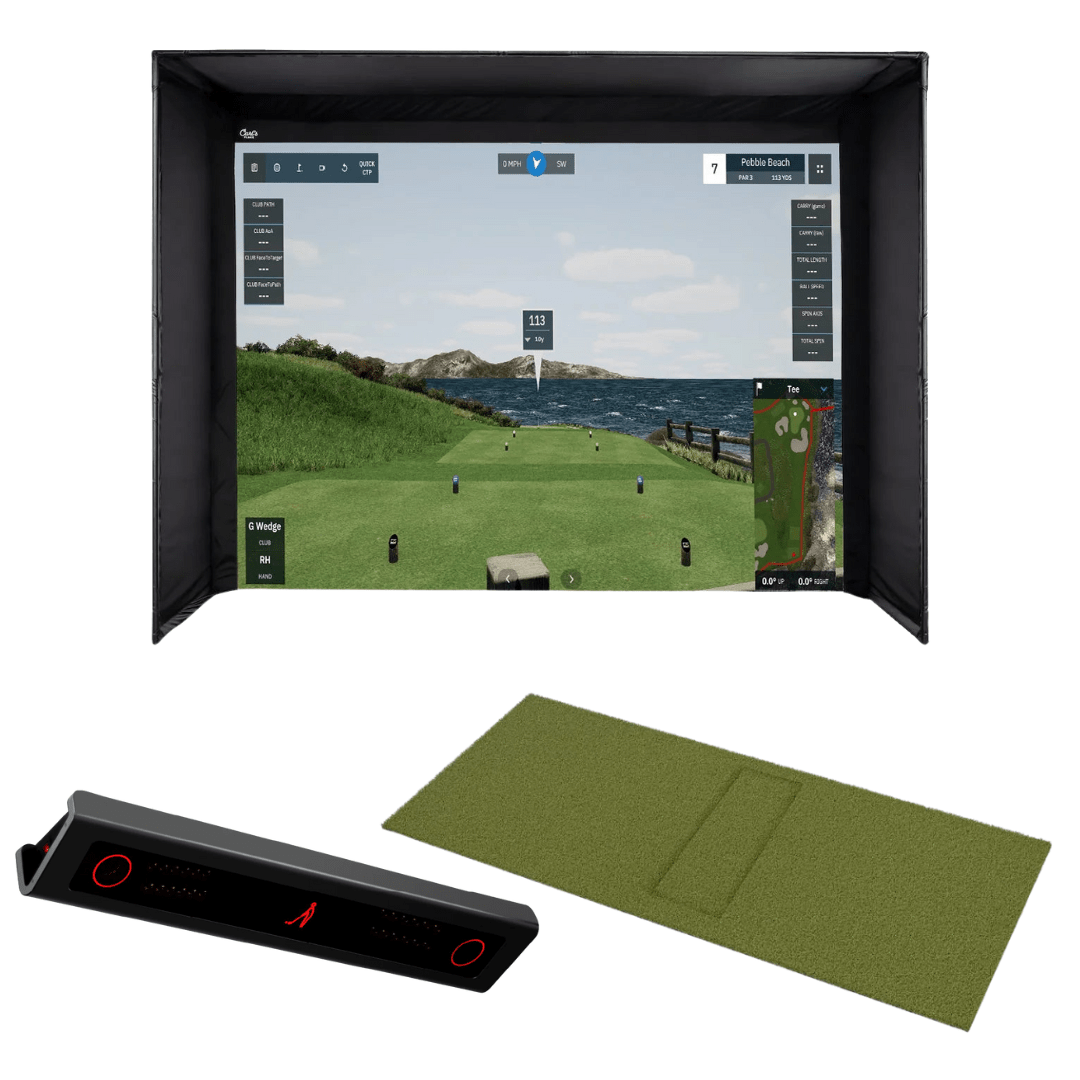
Golf Simulator Enclosure
-
Purpose: Contains golf balls within a designated area and provides a framework for mounting the impact screen and projector.
-
Considerations: Size (must accommodate your swing and screen), material durability, and ease of assembly.
- Check out our Golf Simulator Enclosure collection for ideas.
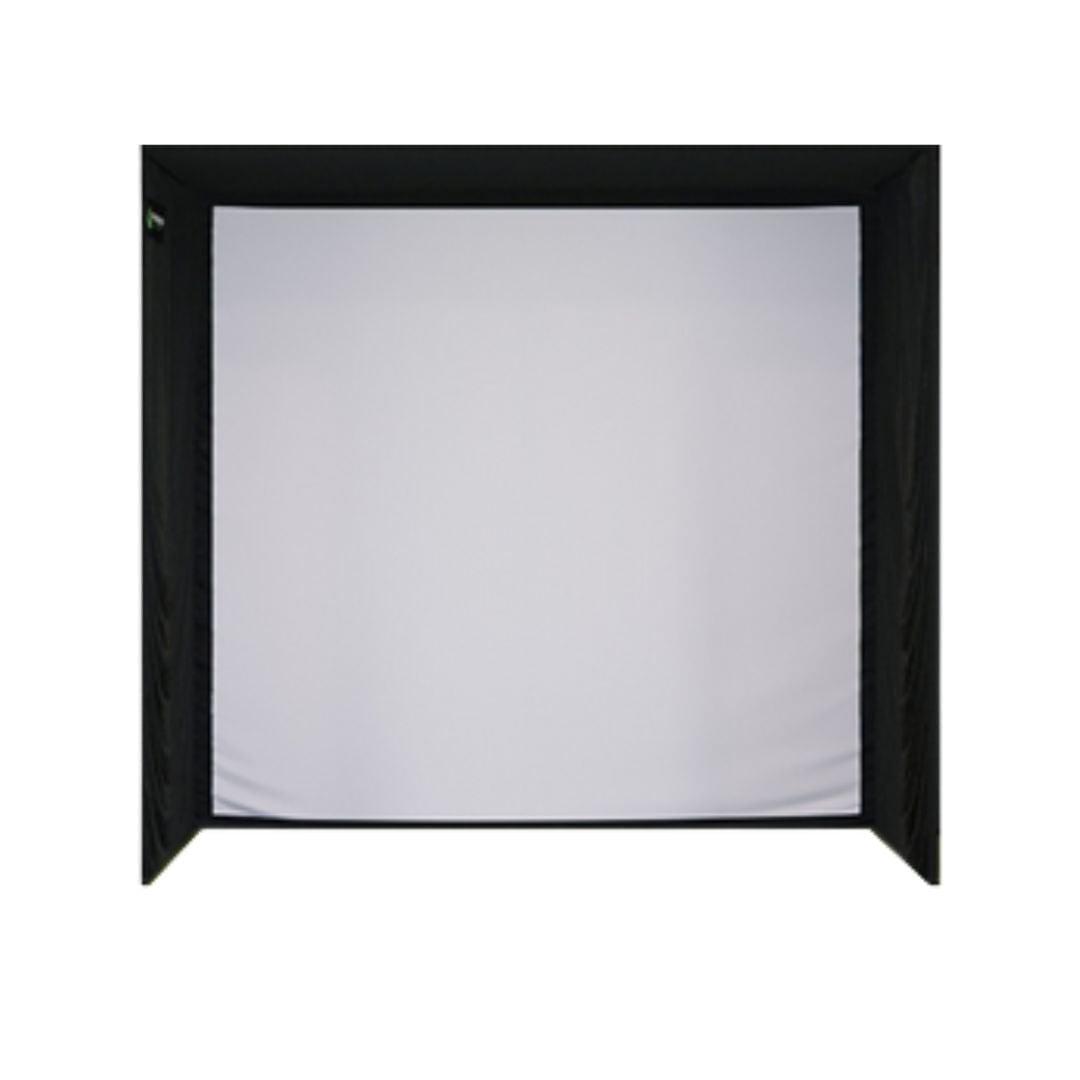
Golf Impact Screen
-
Functionality: Displays the simulation and absorbs the impact of golf balls.
-
Key Features to Look For:
-
Durability: Should withstand repeated impacts without wear.
-
Display Quality: Needs to offer clear and bright images from the projector.
-
Size: Match the aspect ratio of your projector for the best experience.
-
- Check out our collection of Golf Simulator Screens for ideas
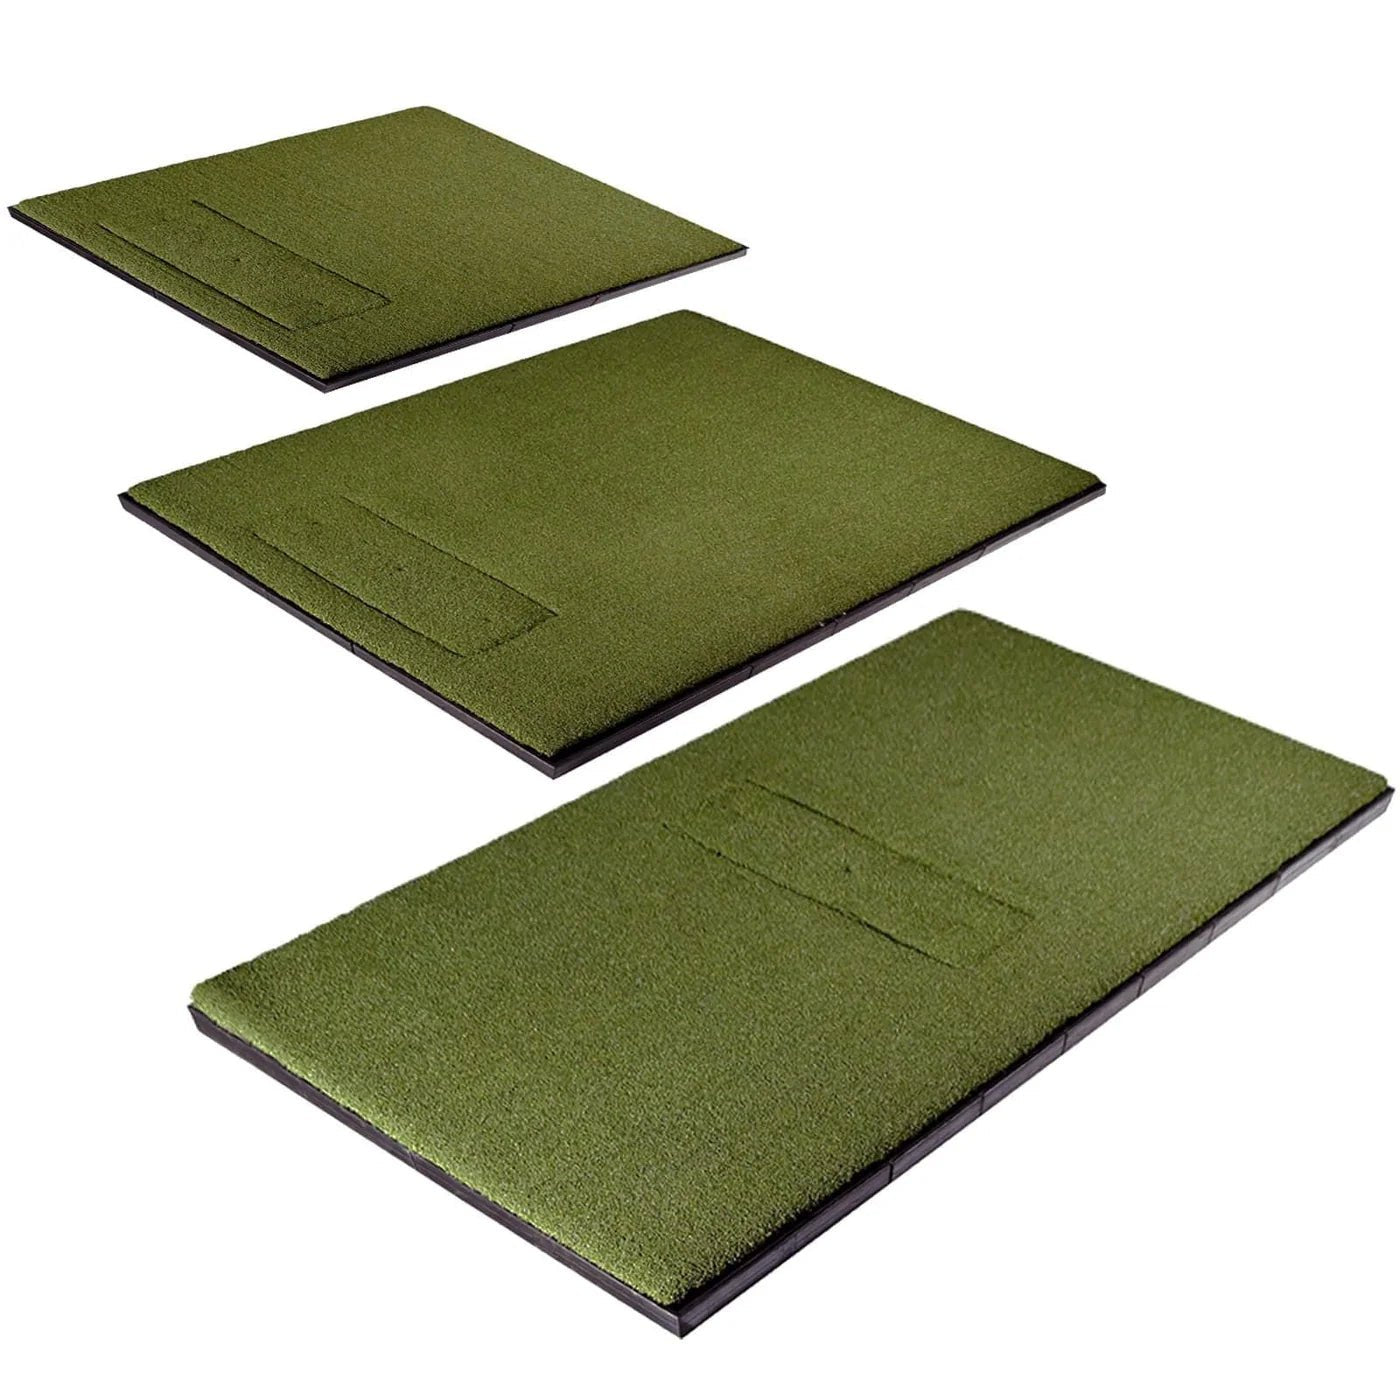
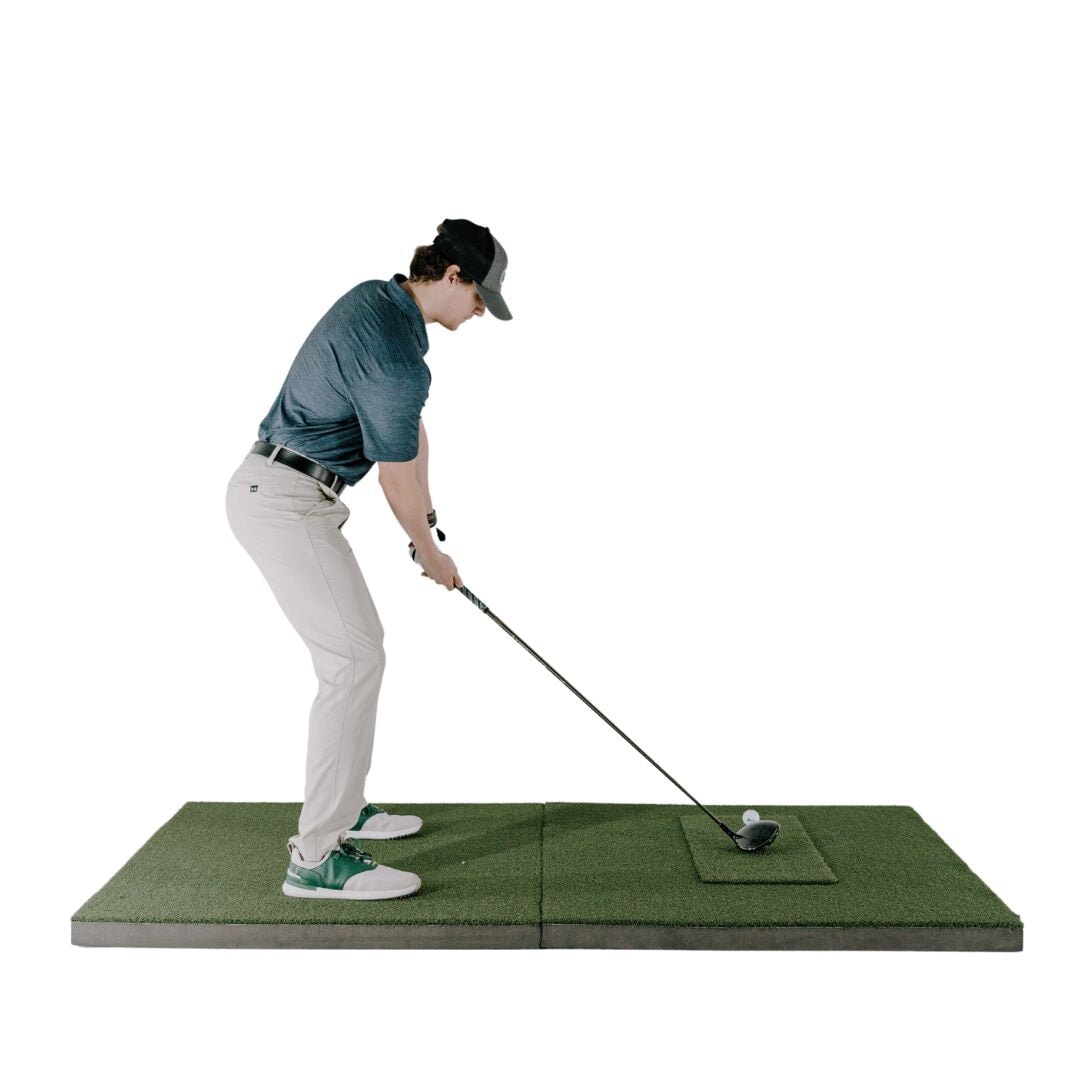
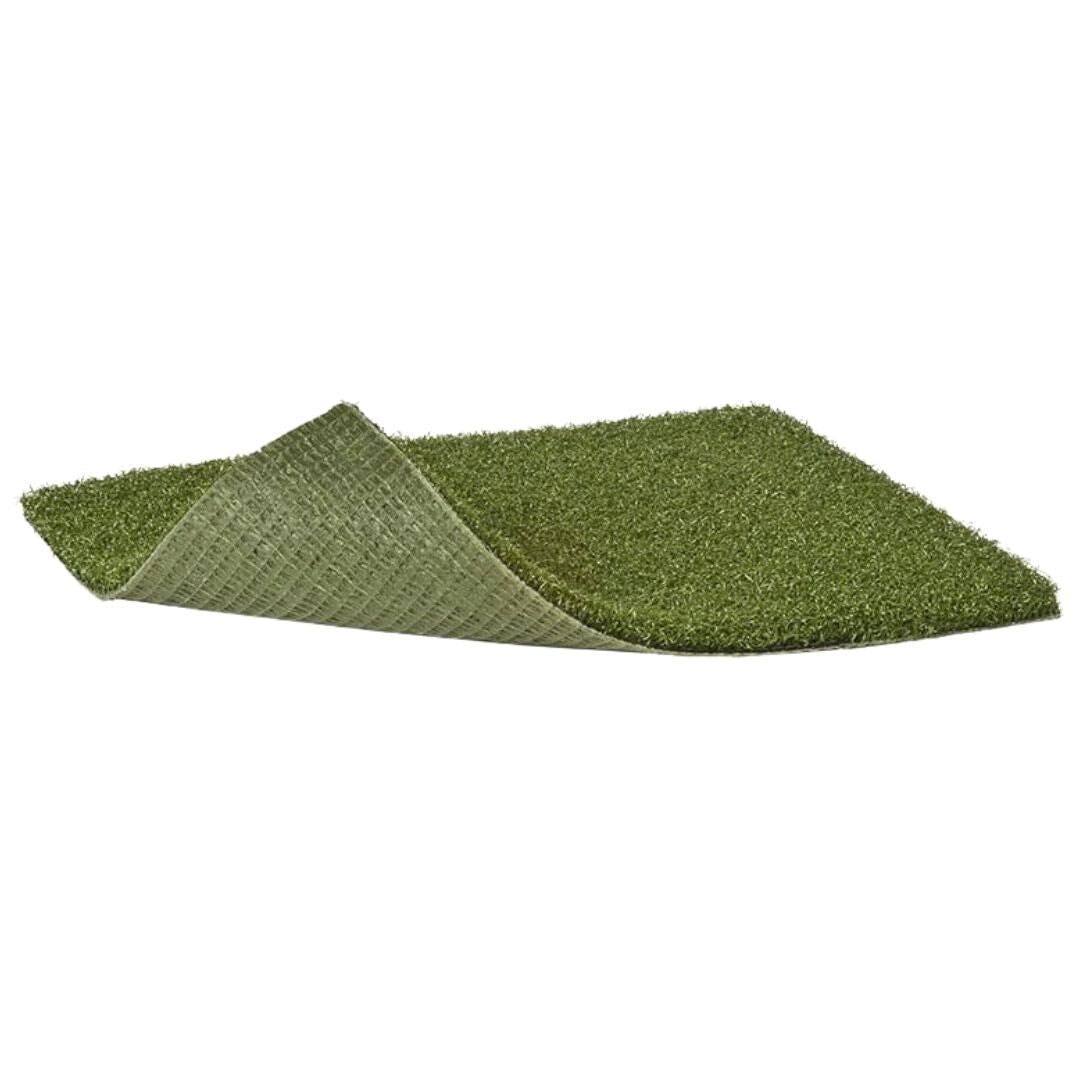
Golf Hitting Mat
-
Importance: A good golf mat replicates the feel of a golf course and provides accurate feedback on your shots.
-
Selection Criteria:
-
Texture: Should simulate real turf to affect the club path correctly.
-
Size: Large enough to stand on comfortably while swinging.
-
Quality: High-quality materials for durability and realistic feedback.
-
- Check our our golf practice mat collection for ideas
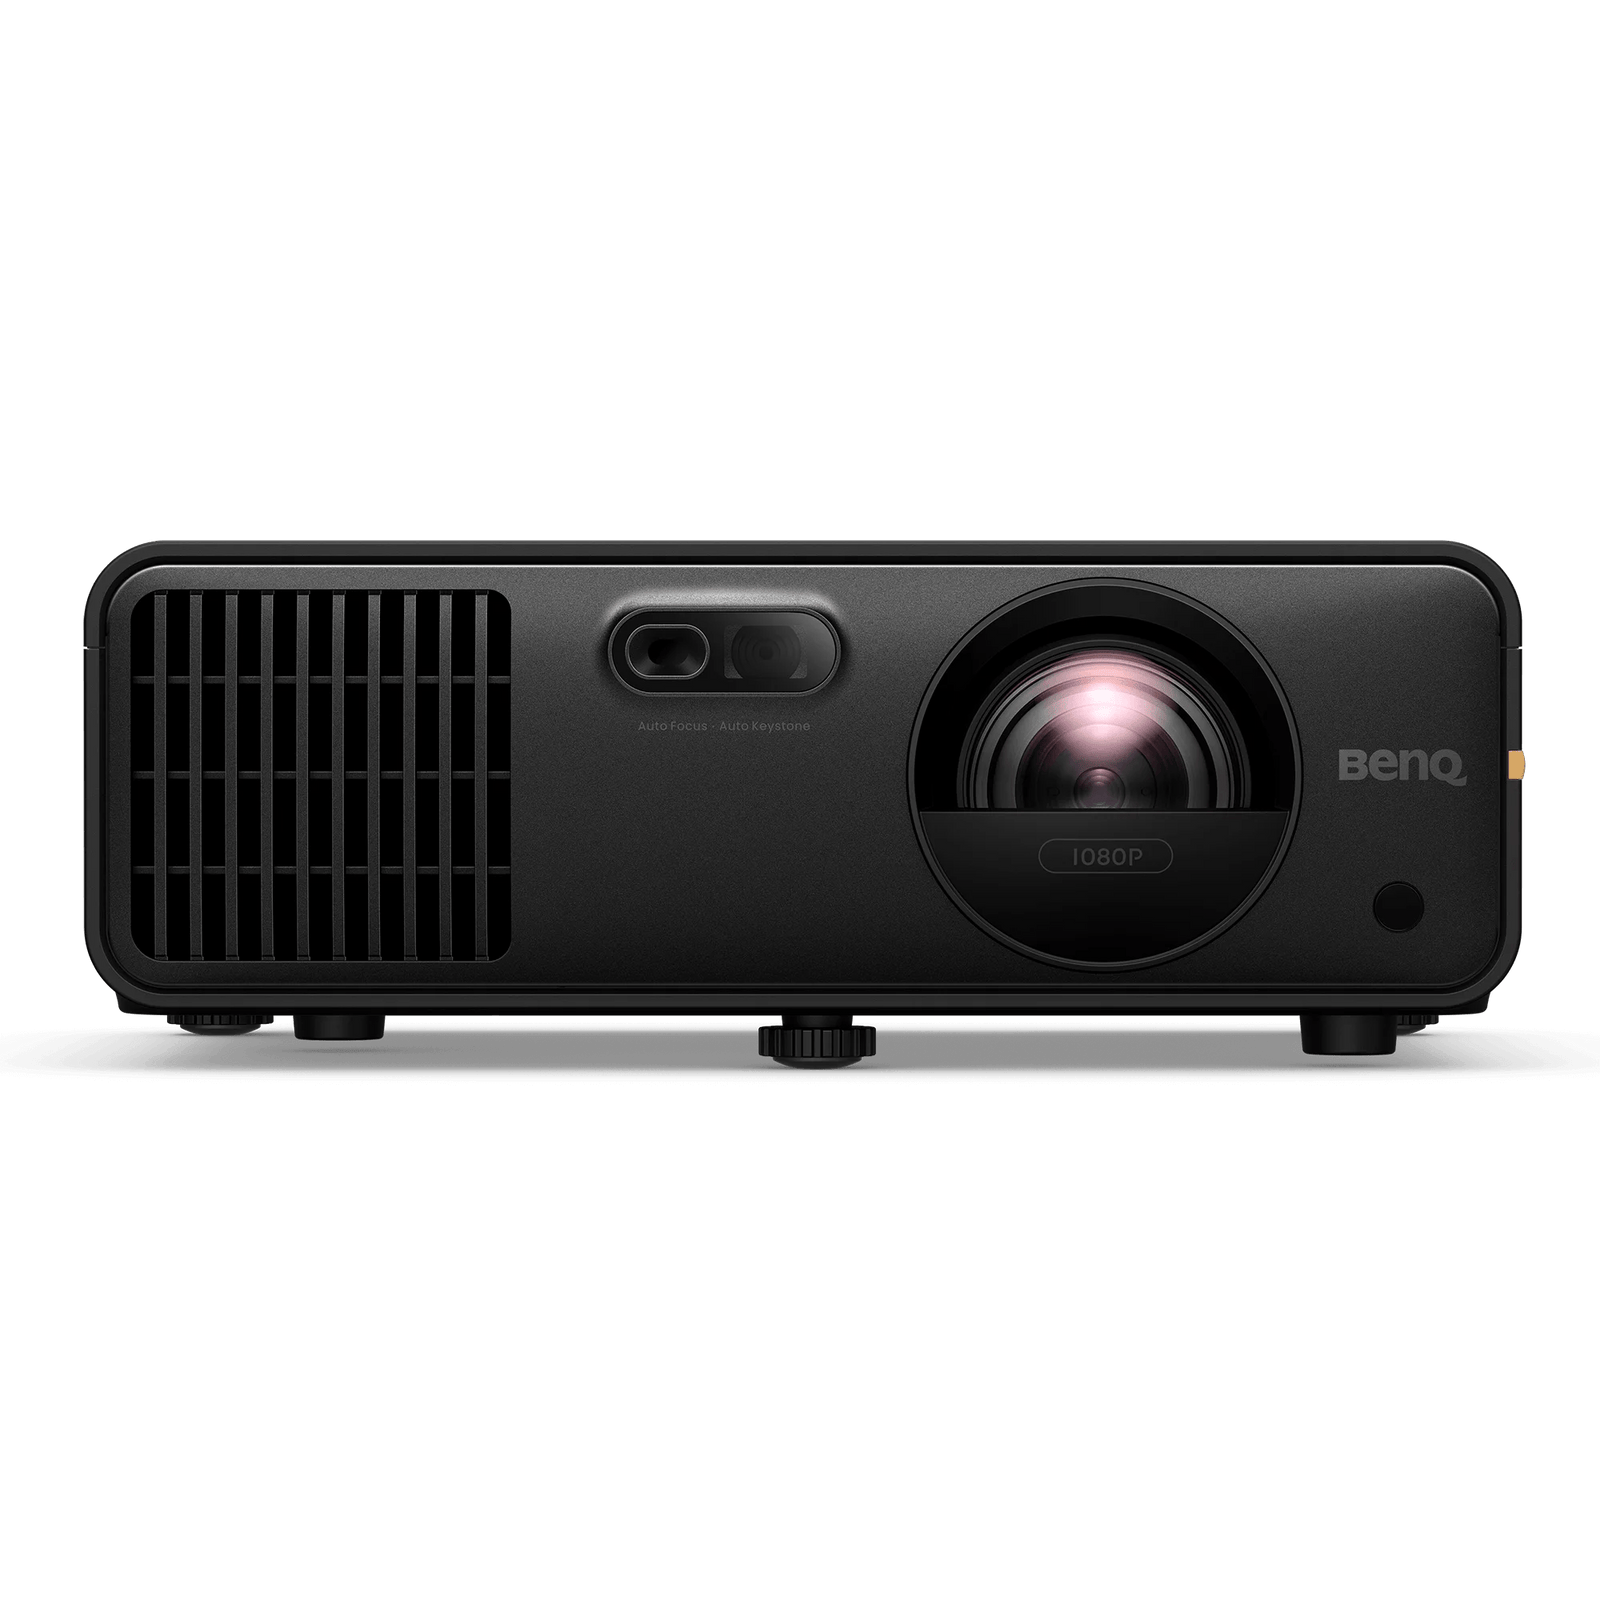
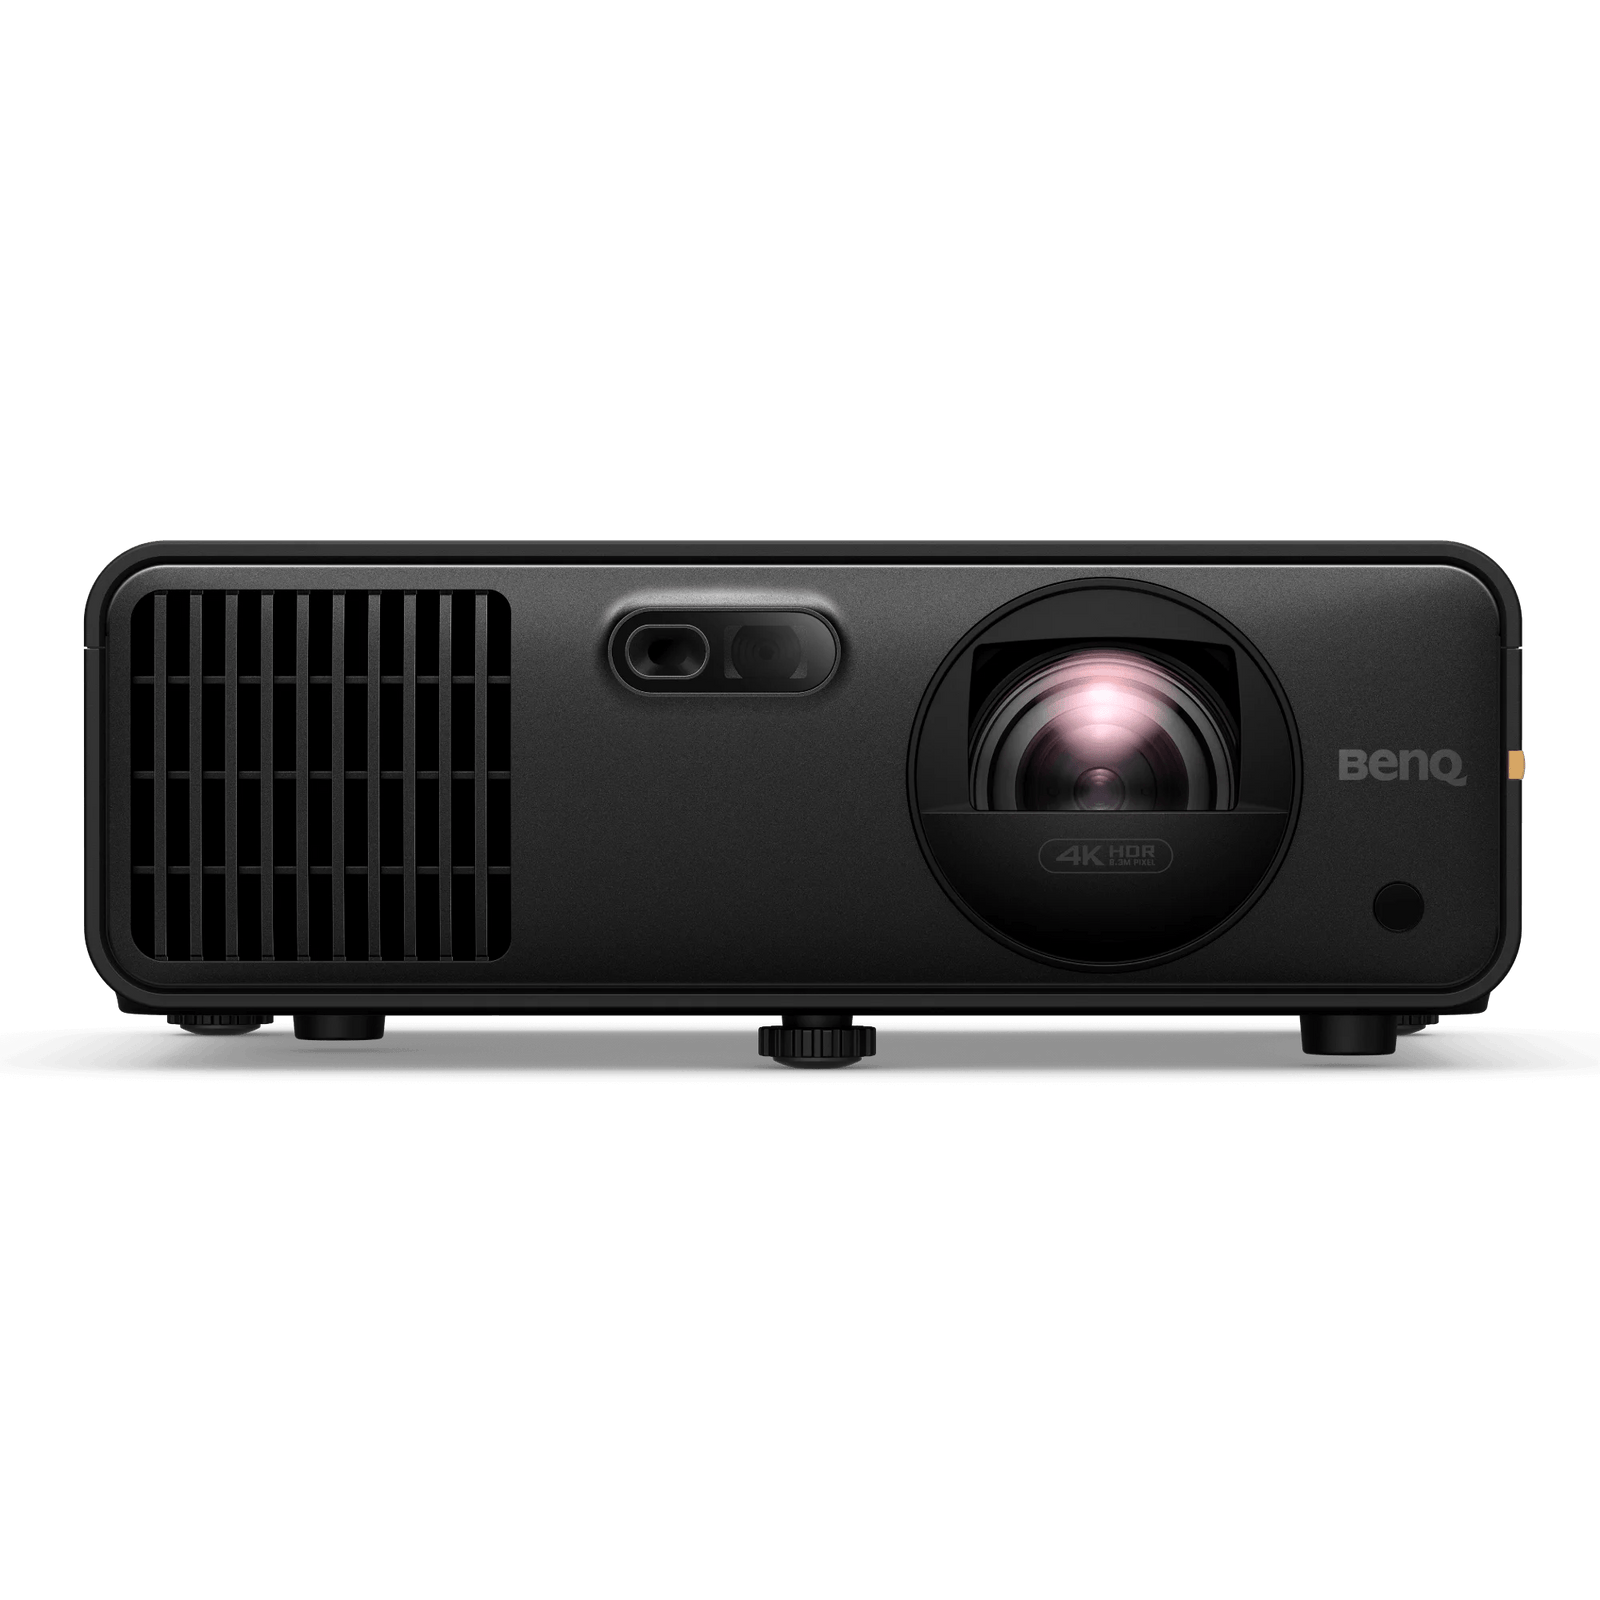
Golf Projector
-
Role: Projects the simulation onto the impact screen.
-
Features to Consider:
-
Brightness (measured in lumens): The higher, the better for visibility.
-
Resolution: At least HD for a clear image.
-
Throw Ratio: Determines the distance needed between the projector and screen.
-
- See our best projector for golf simulator collection for more ideas.
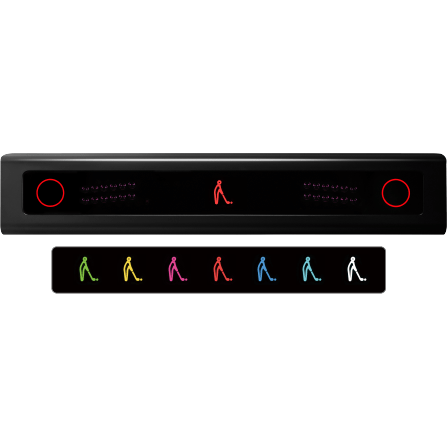
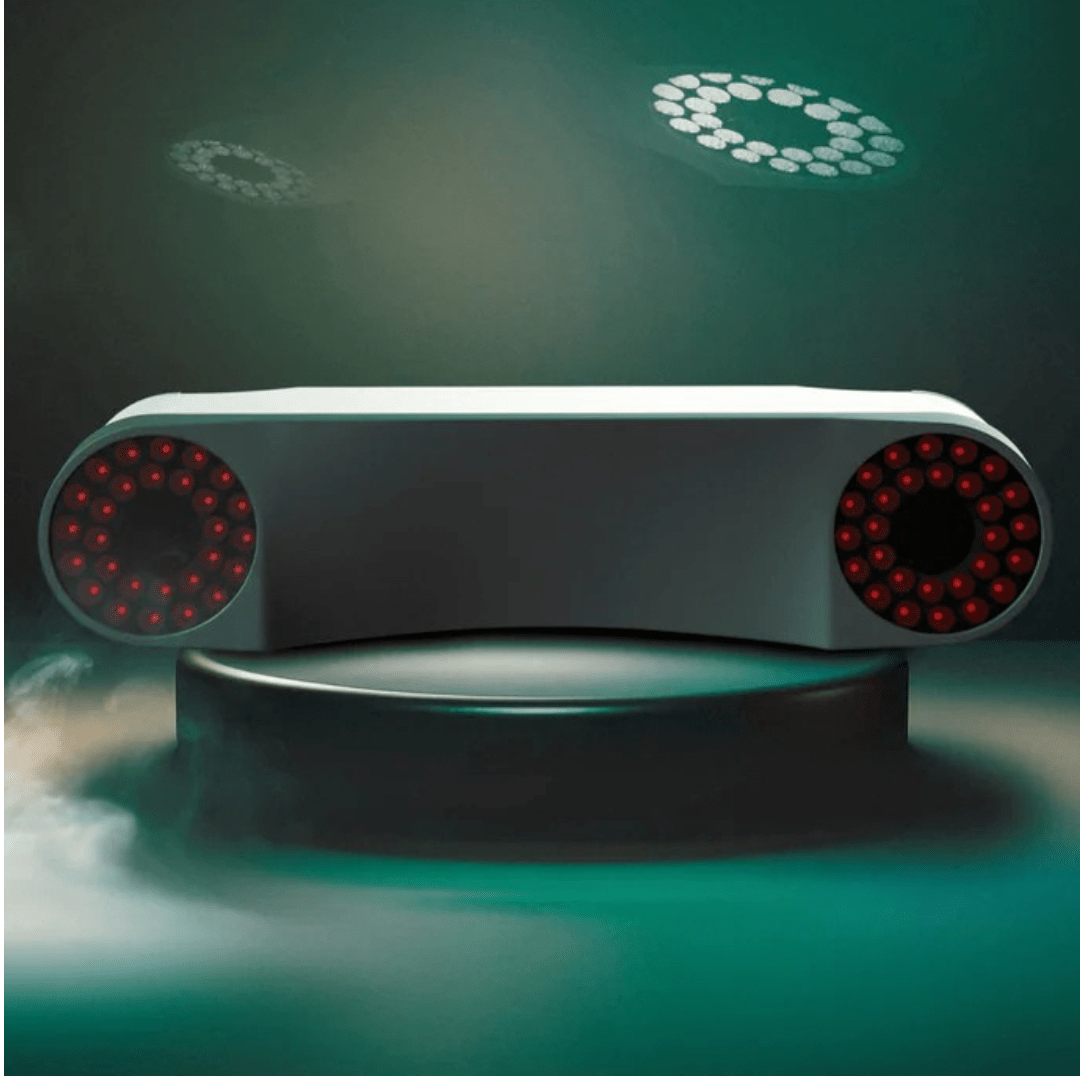
Golf Launch Monitor
-
Function: Captures data about your golf balls and club, crucial for simulation accuracy.
-
Types:
-
Photometric: Uses cameras to capture ball flight and spin.
-
Radar: Tracks ball speed and trajectory.
-
Infrared: Detects ball speed and angle.
-
- Check out our golf launch monitor collection for more ideas.
Golf Net or Enclosures
Golf enclosures can help contain errant golf shots and provide structure for the golf screen. For budget golf simulators, golf practice nets can be used instead.
Here's a tabular comparison to help you decide:
| Component | Essential Features | Recommendations |
|---|---|---|
| Simulator Enclosure | Size, Durability, Ease of Setup | Size based on room and swing |
| Impact Screen | Durability, Display Quality, Size | High-tensile strength fabric |
| Hitting Mat | Texture, Size, Quality | Turf-like feel, ample size |
| Projector | Brightness, Resolution, Throw Ratio | High lumens, HD resolution |
| Launch Monitor | Accuracy, Type (Radar/Photometric/Infrared) | Based on budget and needs |
Light Control
To ensure the best visibility of your golf simulation, controlling ambient light is vital. Use curtains and a valence to block external light, especially if your simulator is in a room with windows. This will enhance the clarity and color of your projected images, making your golf simulator experience more immersive.
By carefully selecting each component of your DIY golf simulator setup, you can create a highly realistic and enjoyable indoor golfing experience. Remember to balance quality with your budget and space constraints to build the best possible simulator for your needs.
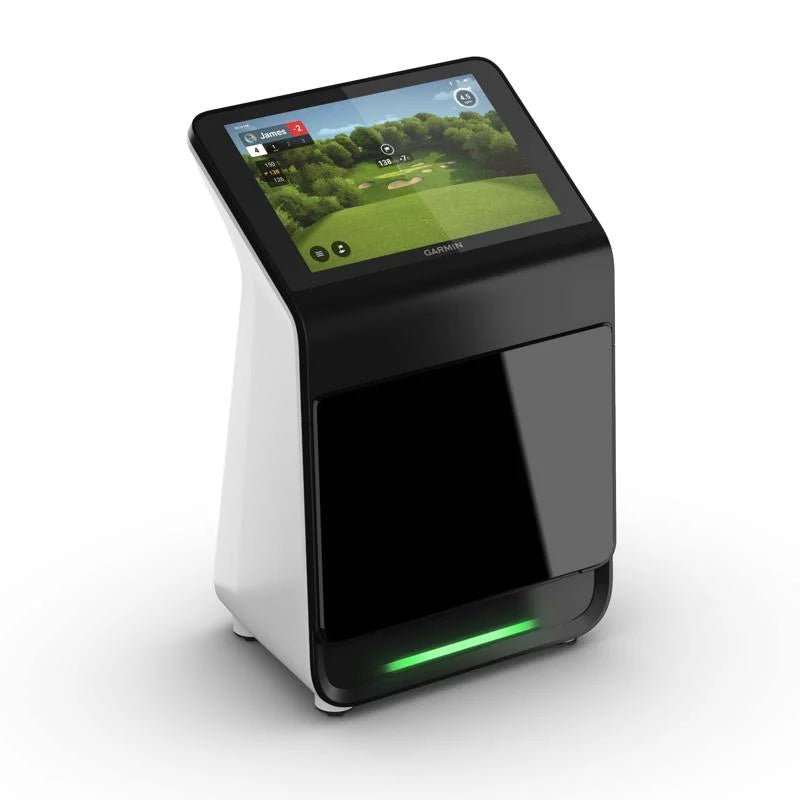
Computing and Software
You will need to include a laptop of desktop computer with your simulator setup to process the information from your launch monitor and also run any golf simulator software you have. The computer will hook up to the projector to display the golf course simulator projection.
A good simulator software will have many different golf courses, including famous ones form around the world. It will also properly interpret your launch monitor data to create a realistic and immersive golfing experience.
Installation Process
The installation process is a critical step in setting up your DIY golf simulator. This section provides a detailed guide to ensure a smooth and efficient setup.
Pre-Installation Checklist
-
Review All Components: Ensure you have all necessary parts: launch monitor, projector, impact screen, enclosure, and hitting mat.
-
Tools and Materials: Gather tools such as drills, screws, measuring tape, and level. Consider any specific mounting hardware for the screen and projector.
-
Software Installation: Install the golf simulator software on your computer or device and update it to the latest version.
Step-by-Step Installation Guide
-
Setting Up the Enclosure and Impact Screen:
-
Assemble the enclosure following the manufacturer's instructions.
-
Hang the impact screen securely within the enclosure. Ensure it's stretched tight to reduce bounce-back.
-
-
Launch Monitor Setup:
-
Position the launch monitor according to its type (photometric, radar, or infrared). Each has specific placement requirements for accurate data capture.
-
Connect the launch monitor to your computer or display device and calibrate it as per the manufacturer's guidelines.
-
-
Projector Installation:
-
Determine the optimal position for the projector, which is usually behind the golfer to avoid shadows. The throw ratio of the projector will dictate the distance from the screen.
-
Securely mount the projector, ensuring it is aligned with the center of the screen and at the correct height for an even display.
-
-
Hitting Mat Placement:
-
Position the hitting mat in alignment with the screen and the launch monitor. The mat should provide enough room to comfortably swing a club.
-
-
Lighting and Curtains:
-
Install curtains or a valence to block external light, especially if your simulator is in a bright room.
-
Adjust indoor lighting to reduce glare on the screen and ensure it does not interfere with the launch monitor.
-
-
Software Calibration and Testing:
-
Run the golf simulation software and calibrate it with the launch monitor and projector.
-
Test the entire setup by hitting a few golf balls to ensure that the data is accurately captured and displayed.
-
Troubleshooting Common Setup Challenges
-
Screen Glare or Uneven Projection: Adjust the projector’s position or room lighting. Ensure the screen is taut and flat.
-
Inaccurate Data from Launch Monitor: Launch monitors need a clear view of your shot to properly process the data. Re-calibrate the launch monitor and check for any obstructions or incorrect positioning.
-
Connectivity Issues: Verify all cables are securely connected and check the software settings for device compatibility.
Final Adjustments
-
Make fine adjustments to the placement of the hitting mat, projector, and launch monitor for optimal performance.
-
Conduct a final test with various golf clubs to ensure the setup is responsive and accurate across different types of shots.
By following this comprehensive installation guide, you can ensure that your DIY golf simulator setup is correctly assembled and calibrated for the best possible indoor golfing experience. Remember, patience and attention to detail during the installation process will greatly enhance the quality and enjoyment of your home golf simulator.
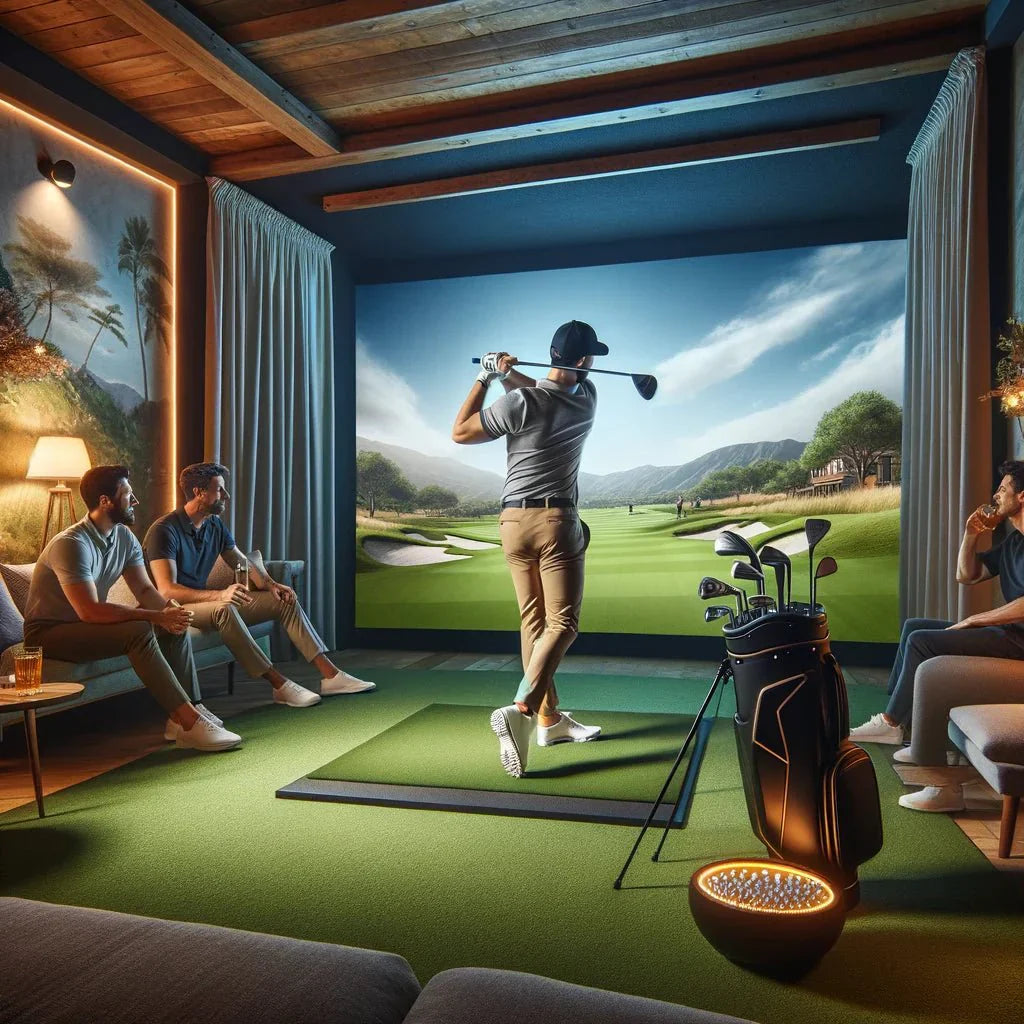
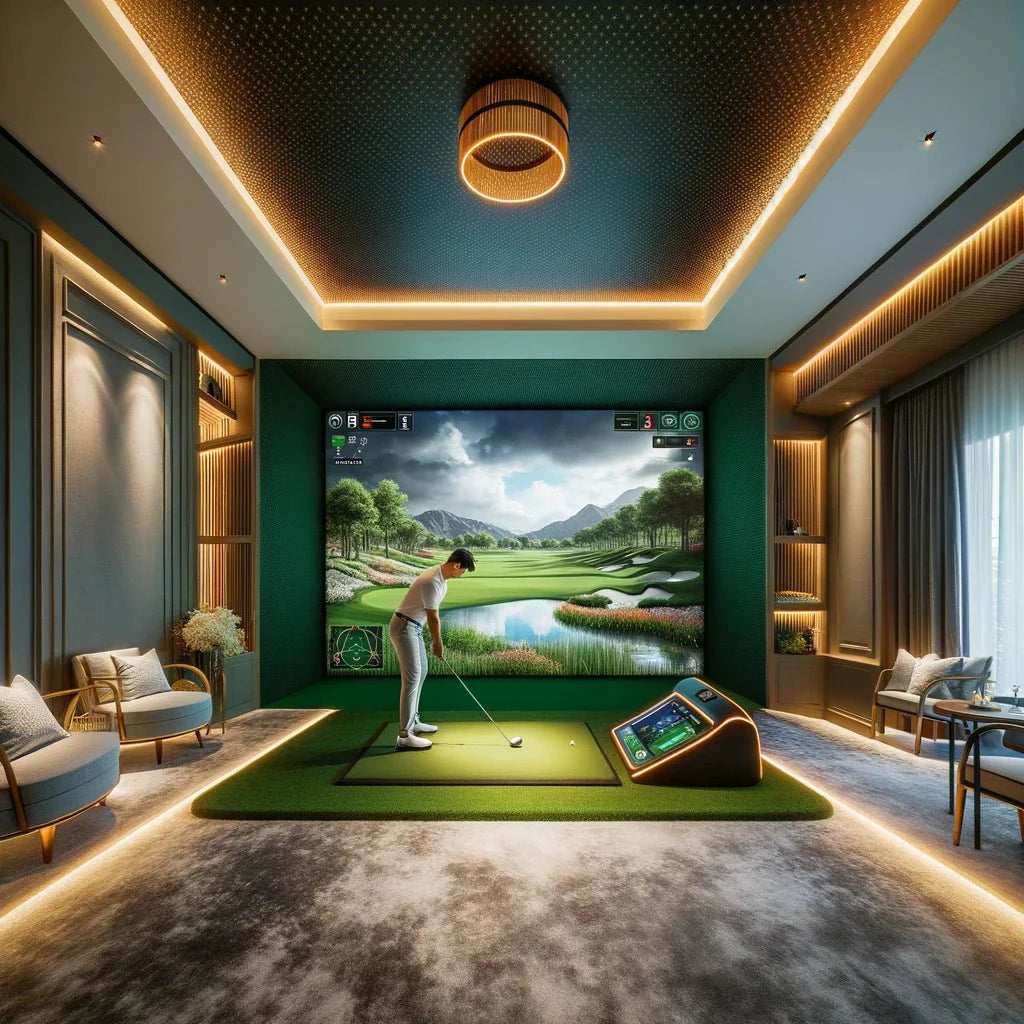
Creating the Right Environment

Transforming your space into the ideal environment for a golf simulator goes beyond just the technical setup. It's about creating an atmosphere that enhances your golfing experience. Here's how to cultivate the right ambiance for your home golf simulator.
Enhancing the Simulation Experience
-
Lighting: Proper lighting is key. Ambient light should be soft yet sufficient to prevent eye strain. Consider dimmable LED lights to adjust brightness as needed. Avoid direct light on the screen to prevent glare.
-
Sound System: Integrating a quality sound system can significantly enhance the simulation experience. It can provide realistic sound effects from the simulator software, immersing you further into the game.
-
Decor: Adding golf-themed decor can elevate the ambiance. Consider framed pictures of famous golf courses, golf memorabilia, or a scoreboard for a more authentic feel.
-
Comfortable Seating: Include comfortable seating for relaxation and for guests who may want to watch. A small sofa or recliner chairs can make the space more inviting.
Making the Space Multifunctional
-
Versatility: If space allows, design the area to serve multiple purposes. It can double as a home theater or a general entertainment area. A versatile setup ensures the room is utilized more frequently.
-
Storage Solutions: Incorporate storage for your golf equipment and any other items relevant to the room's multiple uses. Keeping the space organized will enhance its functionality and aesthetics.
-
Adjustable Setup: Consider ways to easily adjust the setup for different uses. For instance, a retractable screen can free up space when the simulator is not in use.
Soundproofing and Insulation
-
Soundproofing: If your simulator is in a shared home, soundproofing can be essential. Use acoustic panels, sound-absorbing ceiling tiles, and thick carpets to minimize noise transmission.
-
Insulation: Proper insulation helps in maintaining a comfortable temperature and also aids in soundproofing. This is particularly important in spaces like basements or garages.
Lighting Control
-
Window Treatments: Use blackout curtains or blinds on windows to control external light, especially for daytime play. This helps maintain optimal screen visibility.
-
Strategic Light Placement: Position lights to minimize shadows and glare. Indirect lighting can provide a balanced illumination without interfering with the projection.
Final Touches
-
Refreshment Area: A small bar or refreshment area can be a great addition, offering convenience during long playing sessions.
-
Maintenance Corner: Dedicate a small area for cleaning and maintaining your golf equipment. This keeps everything organized and handy.
By focusing on these aspects, you can create an environment that not only supports your DIY golf simulator technically but also makes it a delightful and immersive space for both practice and entertainment. This approach turns your golf simulator setup into a complete experience, enhancing the enjoyment for you and your guests.
Maintenance and Upgrades
Regularly update your simulator software and inspect your equipment for wear and tear. As technology advances, consider upgrading components of your golf simulator setup to keep up with the latest in golf simulation.
Conclusion
Building a DIY golf simulator setup can be a rewarding project. It allows golf enthusiasts to enjoy the game year-round, right in the comfort of their own home. With the right equipment and setup, your golf simulator can provide endless entertainment and improvement to your game.
Additional Resources
For more detailed information on specific products and community advice, consider visiting forums and websites dedicated to golf simulators and DIY golf projects. With this guide and a bit of effort, your dream of having an indoor golf simulator can become a reality.