


Golf simulators have revolutionized the way golf enthusiasts engage with their favorite sport. They offer a convenient way to play and practice golf indoors, regardless of weather conditions or location. A crucial factor in setting up an effective golf simulator is ensuring the right ceiling height. This article delves into why ceiling height is vital for your golf simulator setup and the ideal dimensions to enhance your golf game.
Understanding Golf Simulator Basics
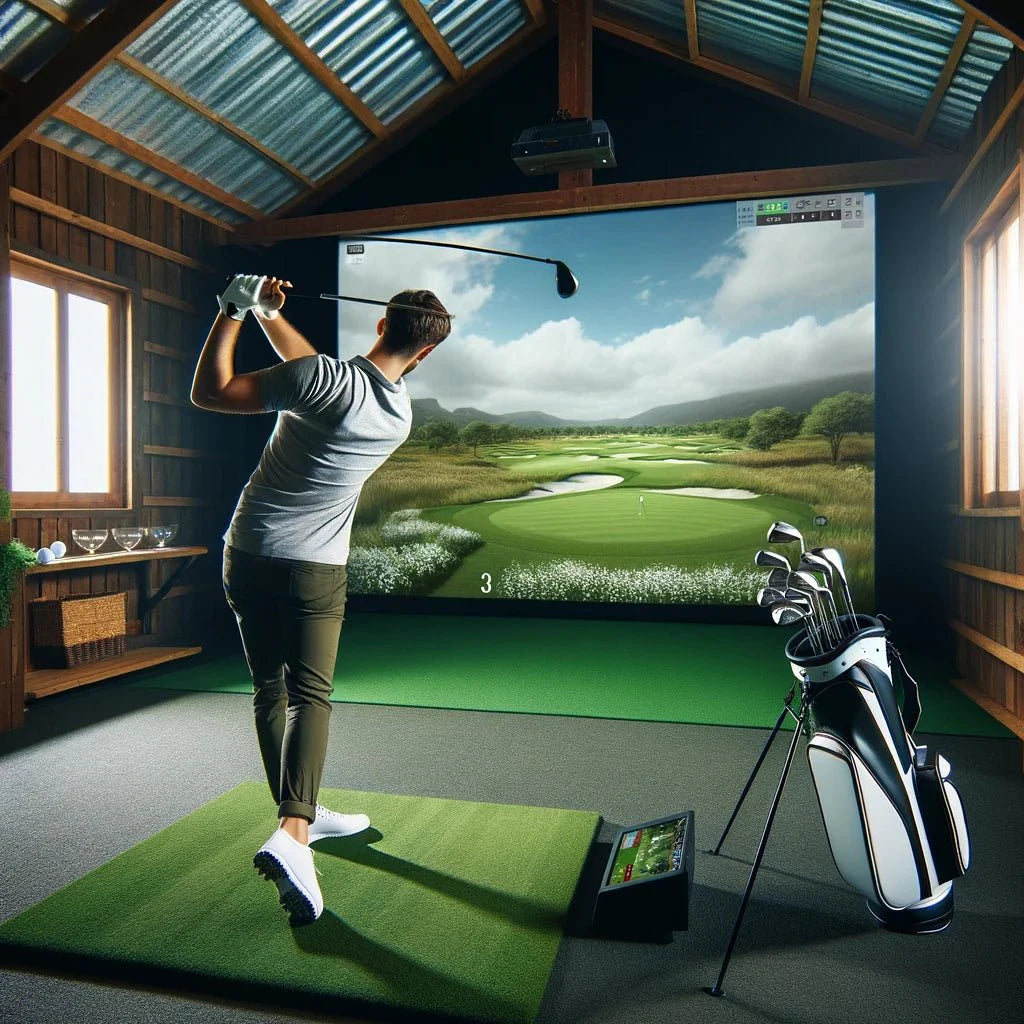
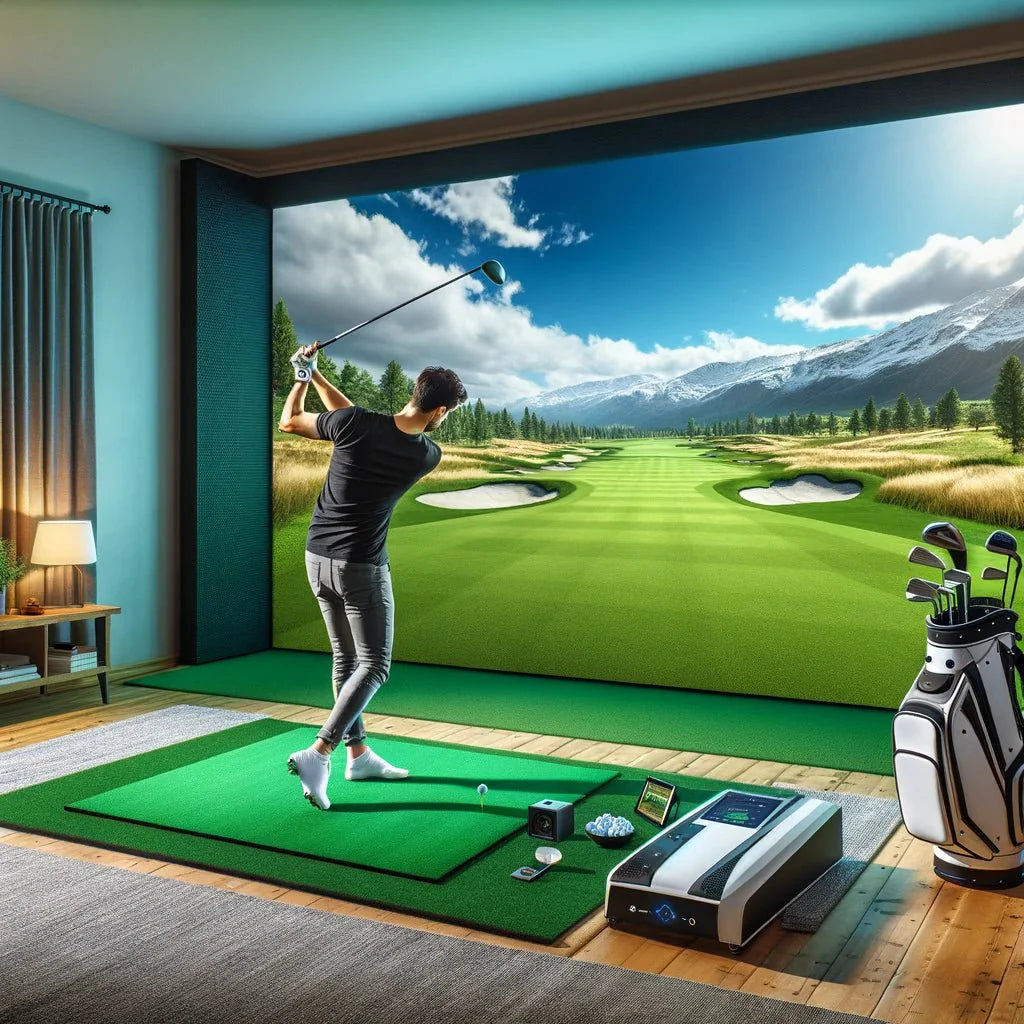
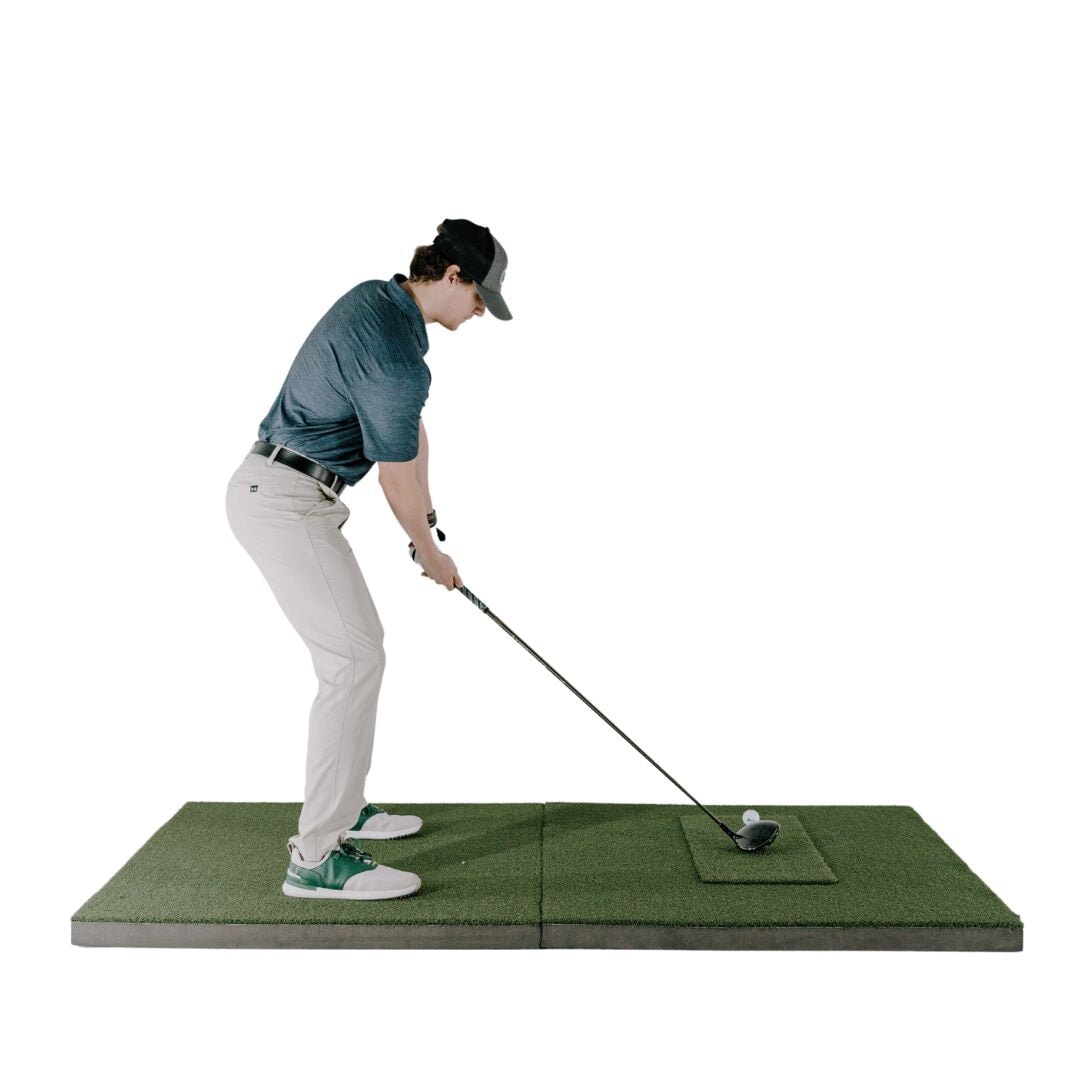
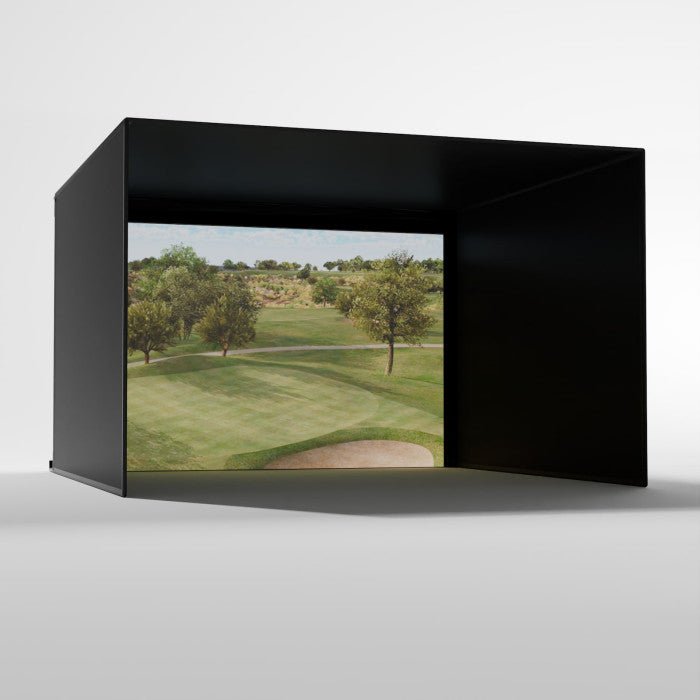
A golf simulator allows players to experience a realistic golf game by replicating outdoor conditions in an indoor setting. Essential components include a hitting mat, a launch monitor to track the golf ball, a screen to display the course, and sensors to analyze the golf swing. The ceiling height in a golf simulator room plays a critical role in accommodating the full arc of a golfer's swing and the ball flight.
Determining the Ideal Ceiling Height

When setting up a golf simulator, one of the most critical factors to consider is the ceiling height. This dimension is essential to ensure a safe and realistic golfing experience. The ideal ceiling height can vary depending on several factors, including the height of the golfer, the type of clubs used, and the individual's swing style. Below is an expanded discussion on this topic, along with a table to guide you in determining the appropriate ceiling height.
Key Factors Affecting Ceiling Height
-
Golfer's Height: Taller golfers generally require higher ceilings due to the increased arc of their swings.
-
Club Type: Different clubs, like drivers or irons, have varying swing arcs, impacting the necessary ceiling height.
-
Swing Style: Golfers with more vertical swings need more vertical space, while those with flatter swings can manage with less.
Standard Recommendations
The minimum ceiling height often recommended for a golf simulator is 9 to 10 feet. This height is generally suitable for most golfers using a variety of clubs. However, for a more comfortable experience, especially for taller golfers or those with expansive swings, a higher ceiling may be preferable.
Tailored Recommendations
To cater to a wide range of golfers, a more detailed recommendation based on the golfer's height and club type can be beneficial. Here is a table that outlines suggested minimum ceiling heights:
| Golfer's Height | Club Type | Suggested Minimum Ceiling Height |
|---|---|---|
| Under 5'6" | Driver | 9 feet |
| Irons/Wedges | 8.5 feet | |
| 5'6" to 6' | Driver | 9.5 feet |
| Irons/Wedges | 9 feet | |
| Over 6' | Driver | 10 feet or more |
| Irons/Wedges | 9.5 feet or more |
Additional Considerations
-
Swing Plane Analysis: For an accurate assessment, golfers should analyze their swing plane. Those with a very upright swing may need additional clearance above the standard recommendations.
-
Safety Buffer: Always include a safety buffer above the estimated height to account for any variations in swing or unexpected movements.
-
Professional Consultation: When in doubt, consulting with a golf simulator installation expert can provide tailored advice for your specific setup and requirements.
Determining the ideal ceiling height for your golf simulator setup is a balance between the physical requirements of your golf swing and the limitations of your available space. By considering your height, the type of clubs you use, and your swing style, you can create a safe and enjoyable indoor golfing experience. Remember, these guidelines serve as a starting point, and adjustments may be necessary to perfectly suit your individual needs and preferences.
Customizing Your Space

Creating the ideal space for a golf simulator can be a challenge, especially when working within the constraints of existing rooms. Whether it's a room in your home, a garage, or a commercial space, several factors must be considered to ensure a functional and enjoyable golf simulator setup. Here, we explore ways to customize your space effectively, addressing various challenges and offering practical solutions.
Dealing with Limited Ceiling Height
One of the primary concerns in setting up a golf simulator is often the ceiling height. In cases where the ceiling is lower than the ideal, several strategies can be employed:
-
Choose the Right Equipment: Opt for golf simulators designed for limited spaces. Some models are specifically tailored for lower ceilings.
-
Adjust Your Club Selection: Use shorter clubs, which require less vertical space, to accommodate a lower ceiling.
-
Modify Swing Technique: Work with a golf professional to modify your swing to fit the available space without compromising your technique.
Maximizing Small Spaces
In smaller rooms, efficient use of space is key. Here are some tips to make the most out of limited areas:
-
Compact Simulator Designs: Look for compact golf simulator setups that are designed for small spaces but still offer a full golfing experience.
-
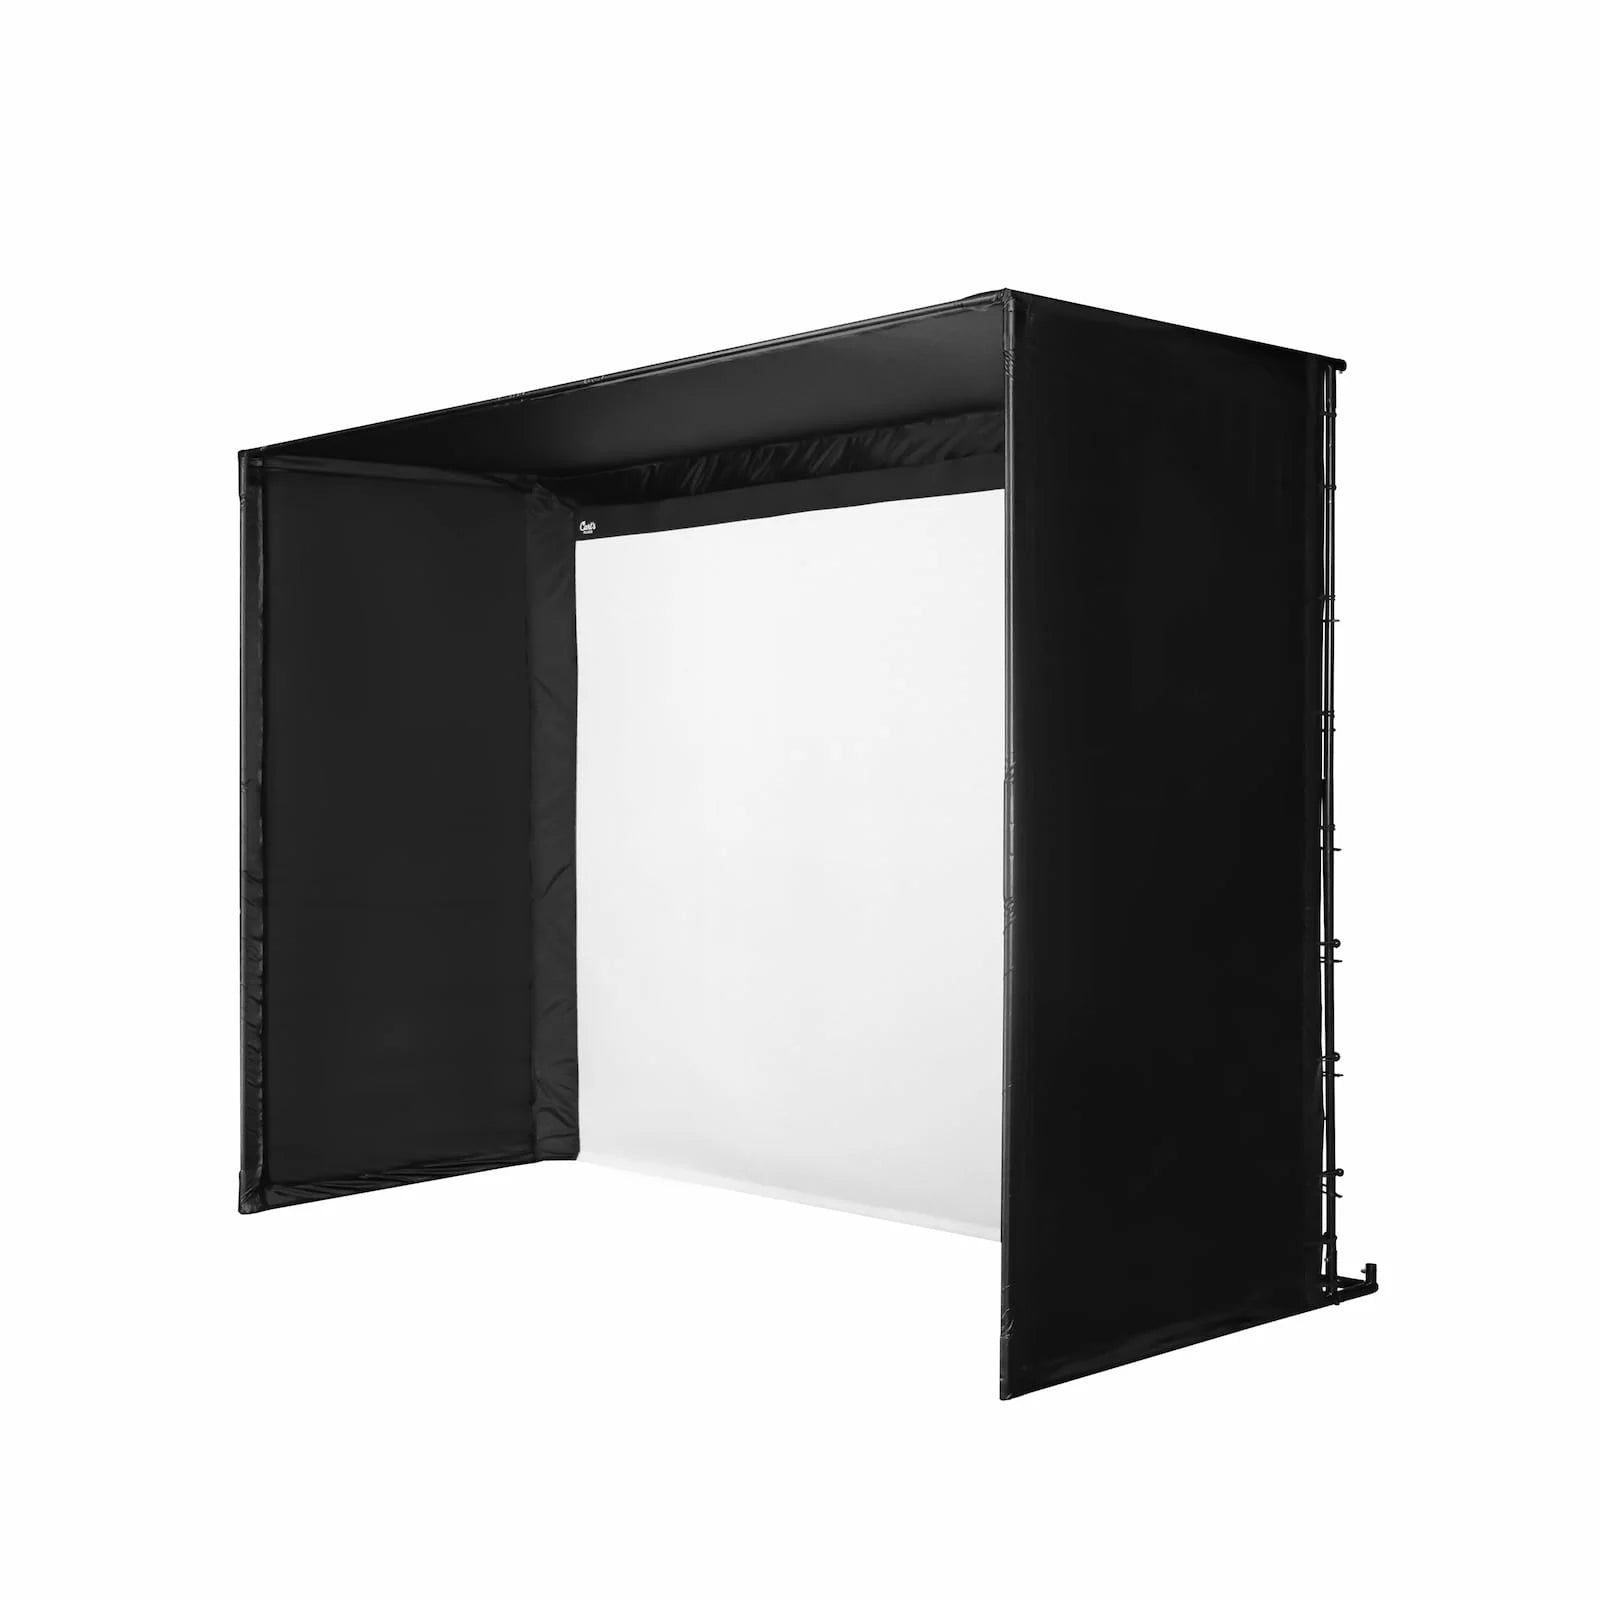
Retractable Screens: Consider installing retractable screens that can be rolled up or put aside when not in use, freeing up space for other activities.
-
Multi-Purpose Furniture: Use furniture that can serve dual purposes, such as storage units that can double as seating.
Innovative Solutions for Low Ceilings
For rooms with low ceilings, innovative solutions can help:
-
Ceiling-Mounted Equipment: Utilize ceiling-mounted launch monitors and projectors to save floor space and reduce the risk of damage from errant swings.
-
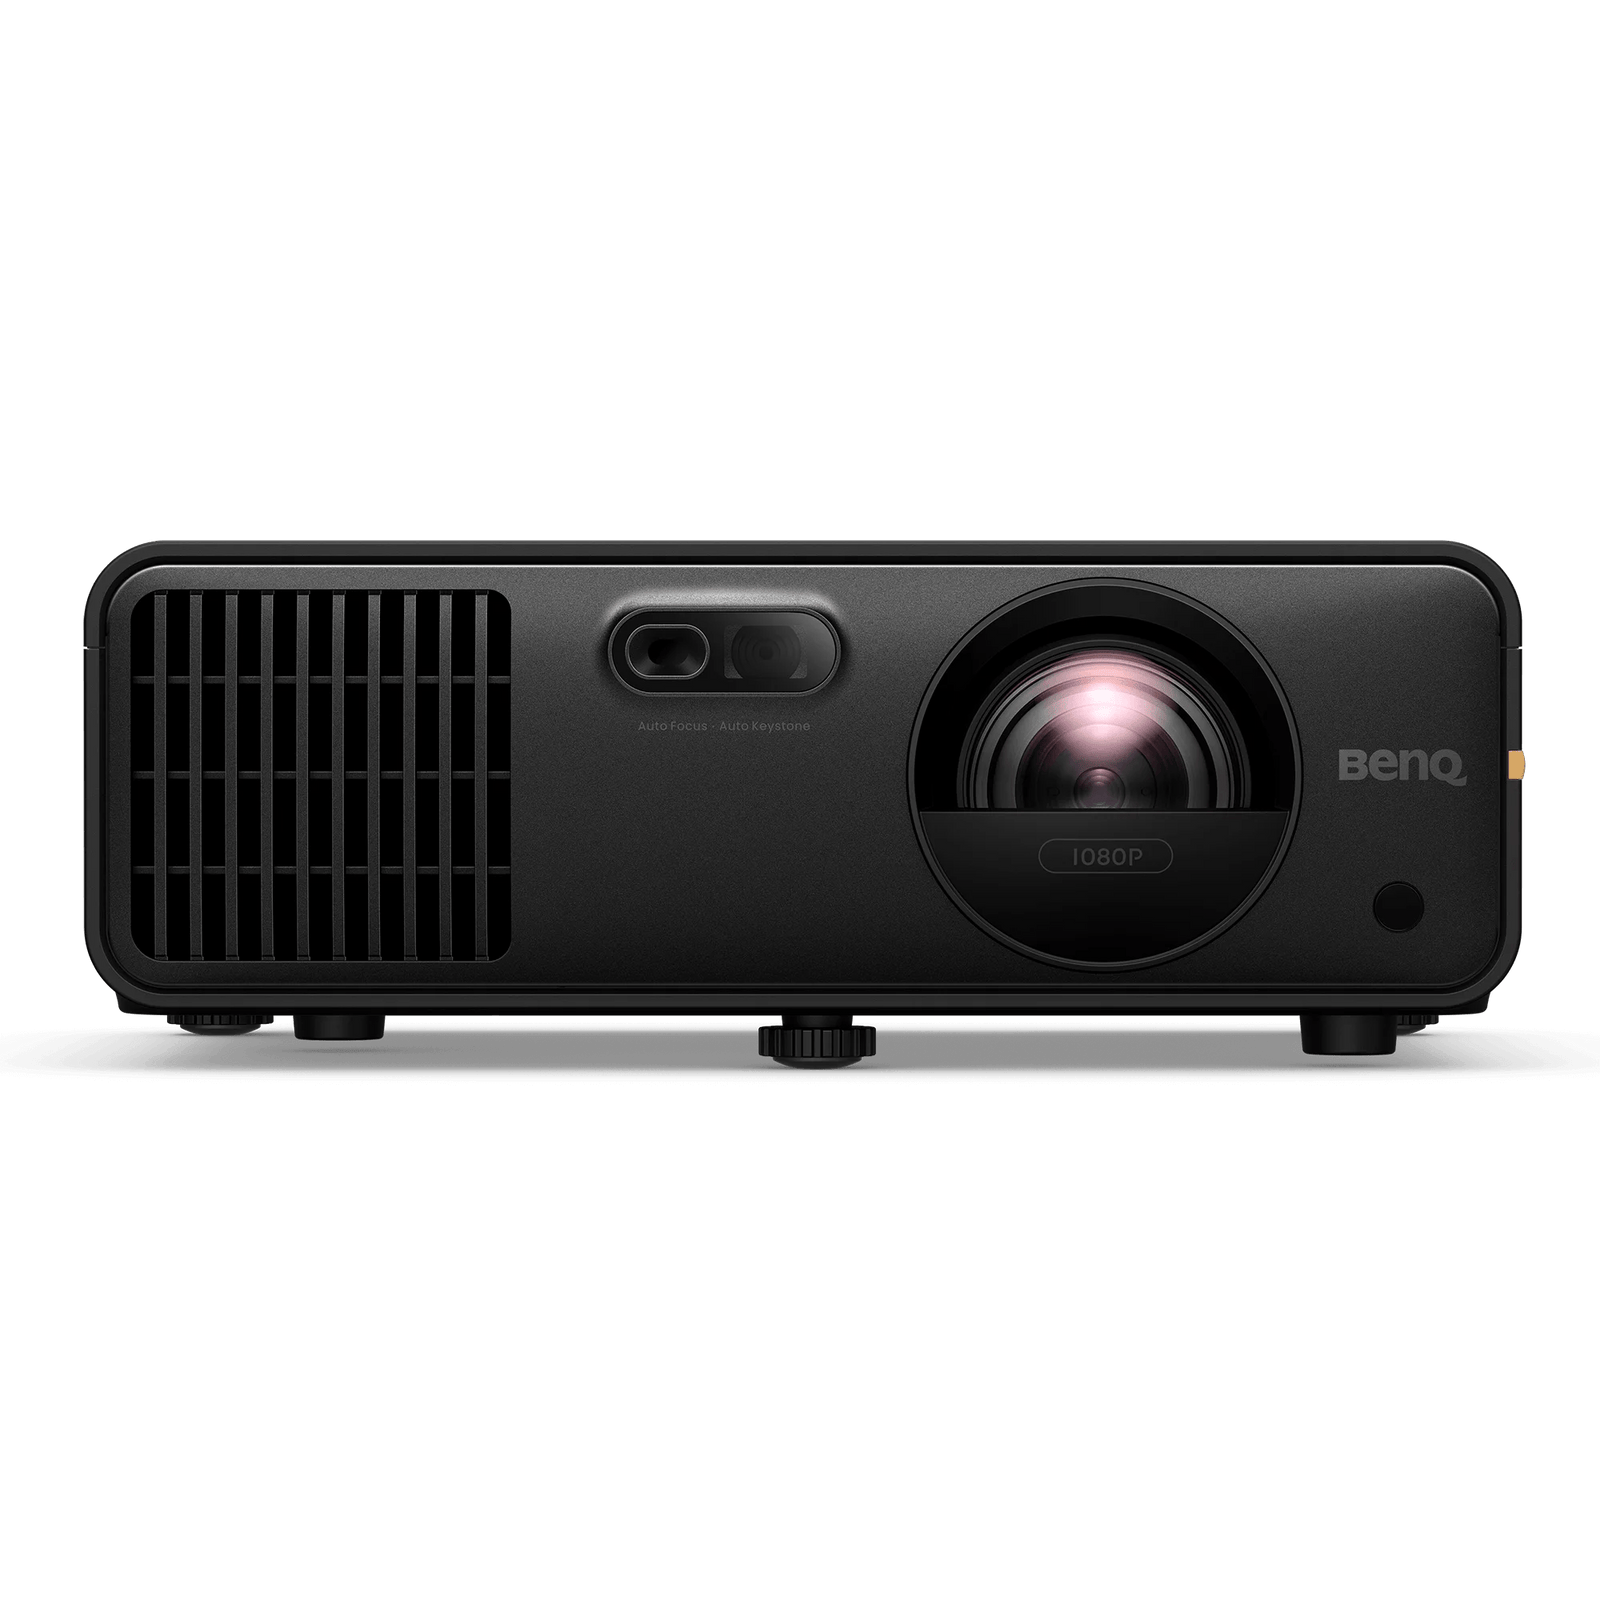
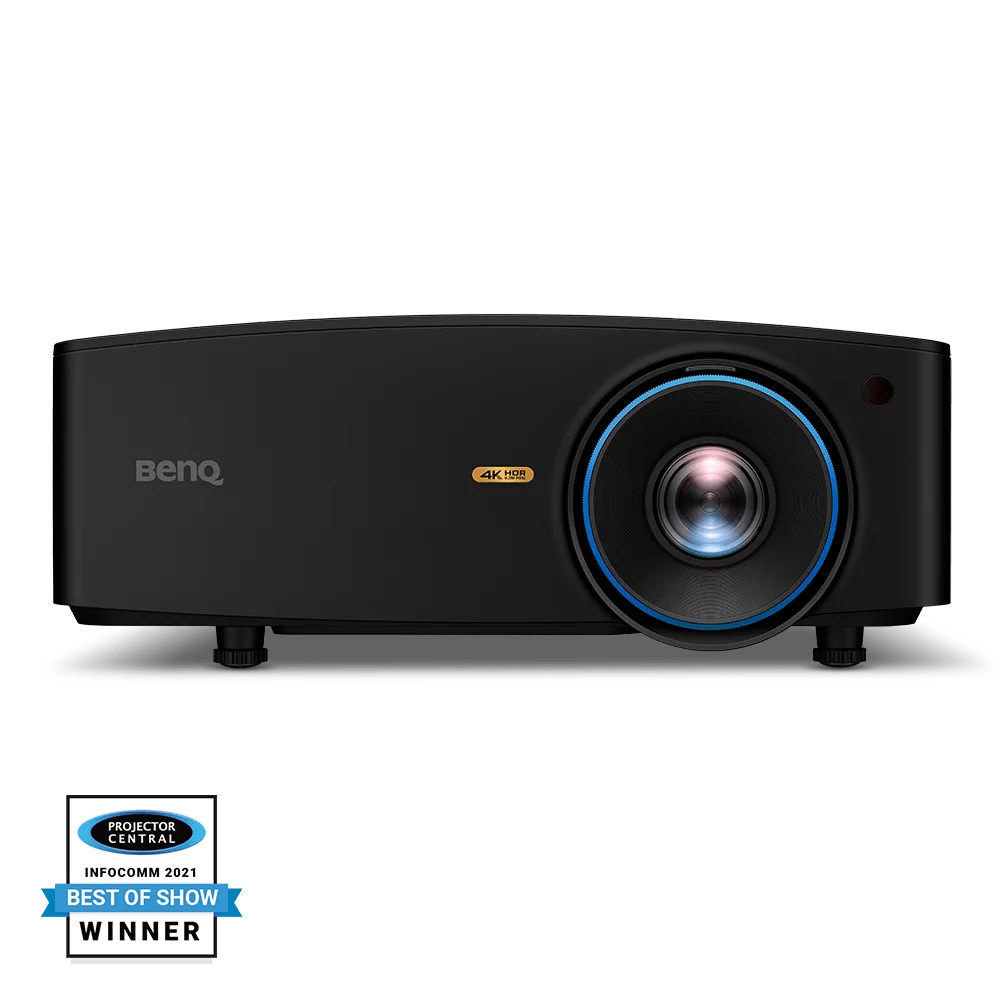
Short Throw Projectors: These projectors can be placed closer to the screen, requiring less room depth.
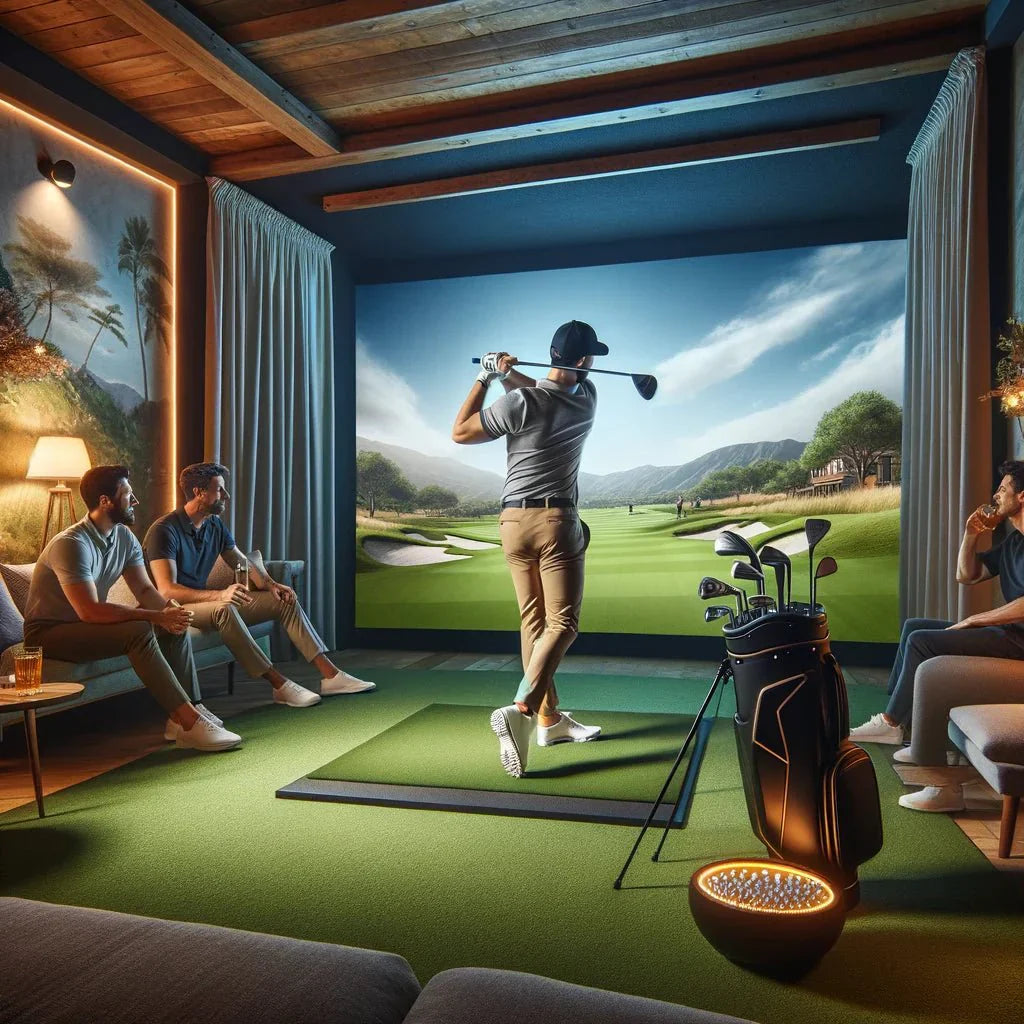
Enhancing Room Aesthetics
The look and feel of your golf simulator room are also important. Consider these aesthetic enhancements:
-
Themed Decor: Create a golf-themed environment with appropriate decor, such as artificial turf, golf-related art, or a green color palette.
-
Lighting Adjustments: Good lighting is crucial. Adjustable lighting can enhance the simulation experience and can be altered for other uses of the room.
-
Soundproofing: Soundproofing materials not only improve acoustics but also prevent noise from disturbing others in your home or facility.
Technology Integration
Integrating the latest technology can greatly enhance the golf simulator experience:
-
High-Quality Audio Systems: Install a high-quality sound system for immersive sound effects, enhancing the realism of the simulation.
-
Smart Room Controls: Implement smart controls for lighting, sound, and screens for a seamless and customizable environment.
Customizing your space for a golf simulator involves more than just fitting the necessary equipment; it's about creating an environment that enhances your golfing experience while being mindful of the limitations and potential of your space. From addressing low ceilings to maximizing small areas and enhancing the overall ambiance, each element plays a role in crafting the perfect indoor golf setting. With creativity and careful planning, you can transform any space into an ideal golf simulator haven.
Installation Best Practices
Proper installation is crucial for a functional and enjoyable golf simulator experience. This process involves more than just assembling equipment; it requires careful planning and consideration of various factors to ensure the simulator operates effectively and safely. Here, we detail best practices for installing a golf simulator, from initial preparation to final setup.
Initial Space Assessment
-
Measure Accurately: Begin by measuring the space accurately, focusing on ceiling height, room width, and depth. These dimensions are crucial for selecting the right equipment and ensuring enough room for swing movement.
-
Consider Room Shape: The shape of the room can affect the placement of the simulator components. Factor in any irregularities like sloped ceilings or protrusions.
Choosing the Right Equipment
-
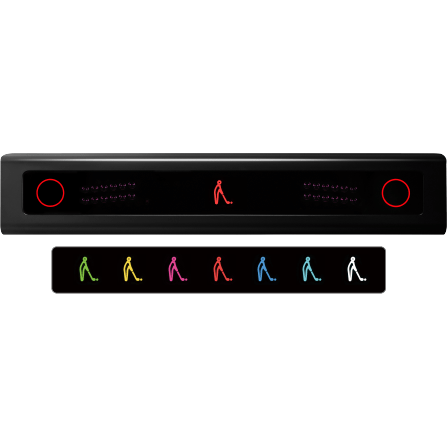
Selecting a Launch Monitor: Choose a launch monitor that fits your space and skill level. For smaller rooms, consider launch monitors that require less space.
-
Screen and Projector Selection: Ensure the screen size fits comfortably within your space. For projectors, consider lumens (brightness), resolution, and throw ratio based on room depth.
Installation Process
-
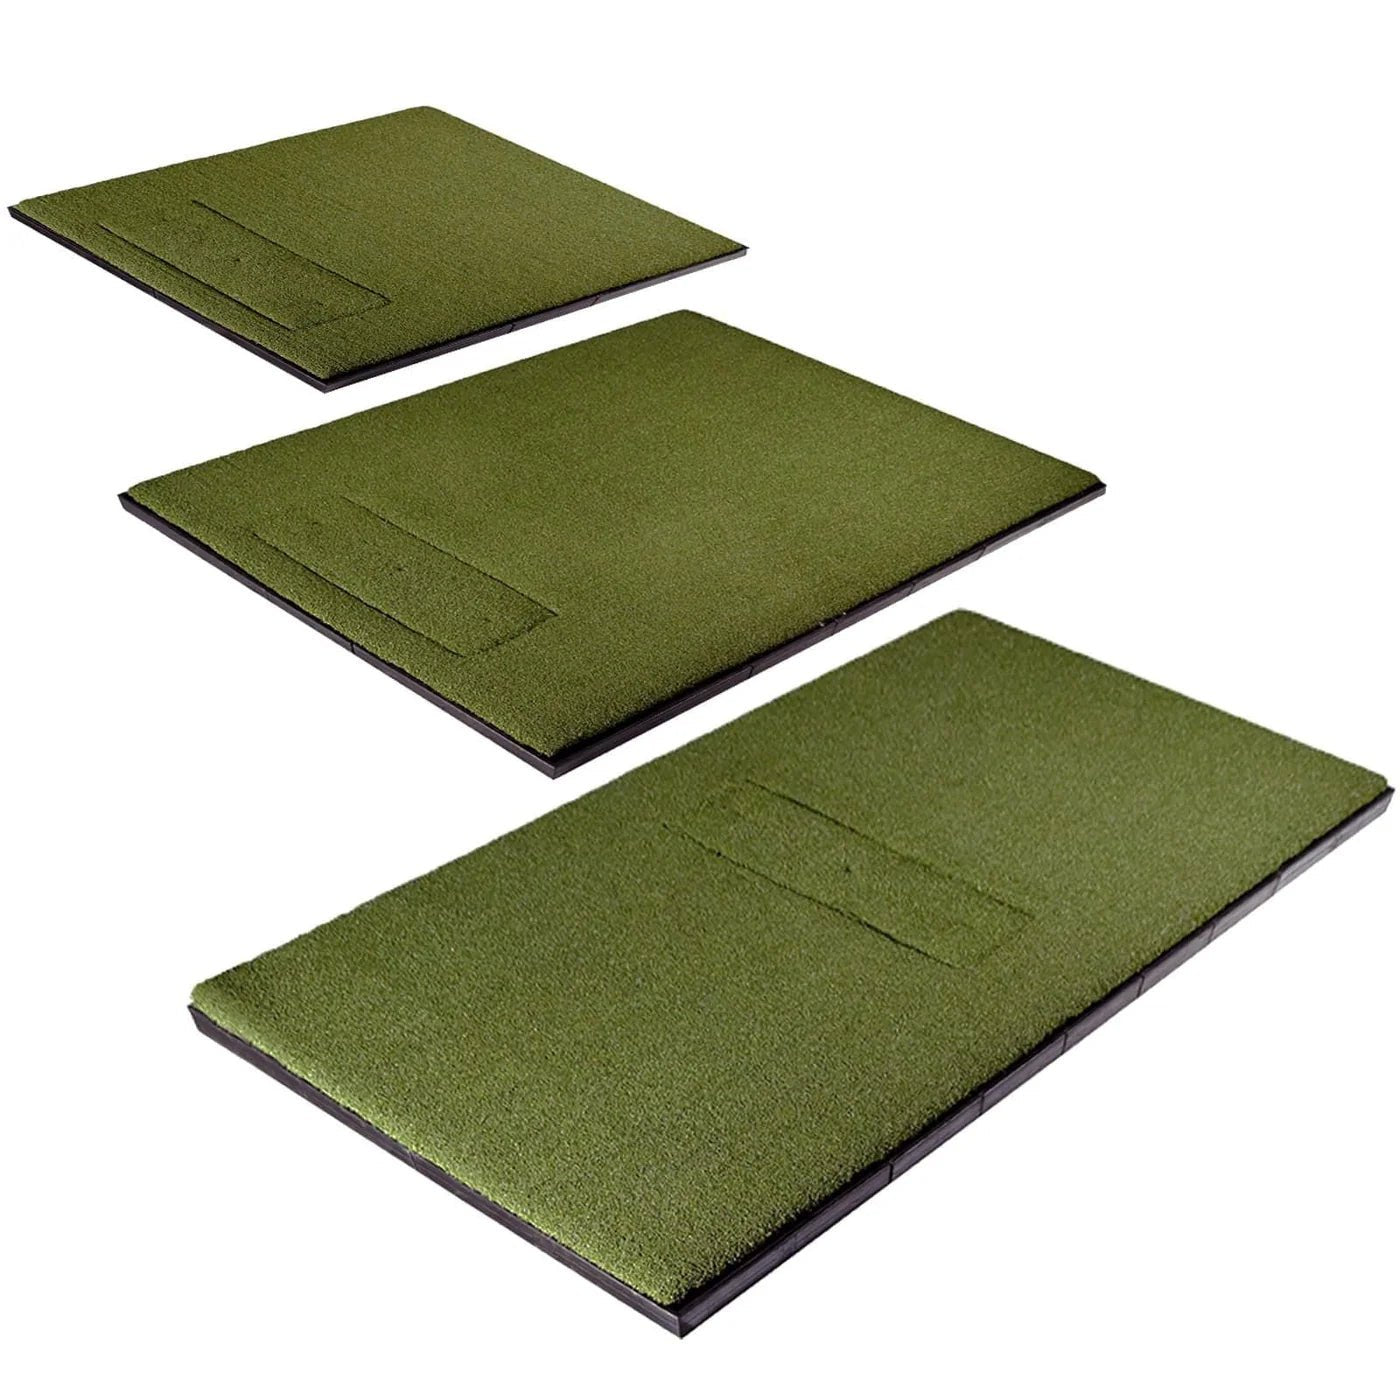
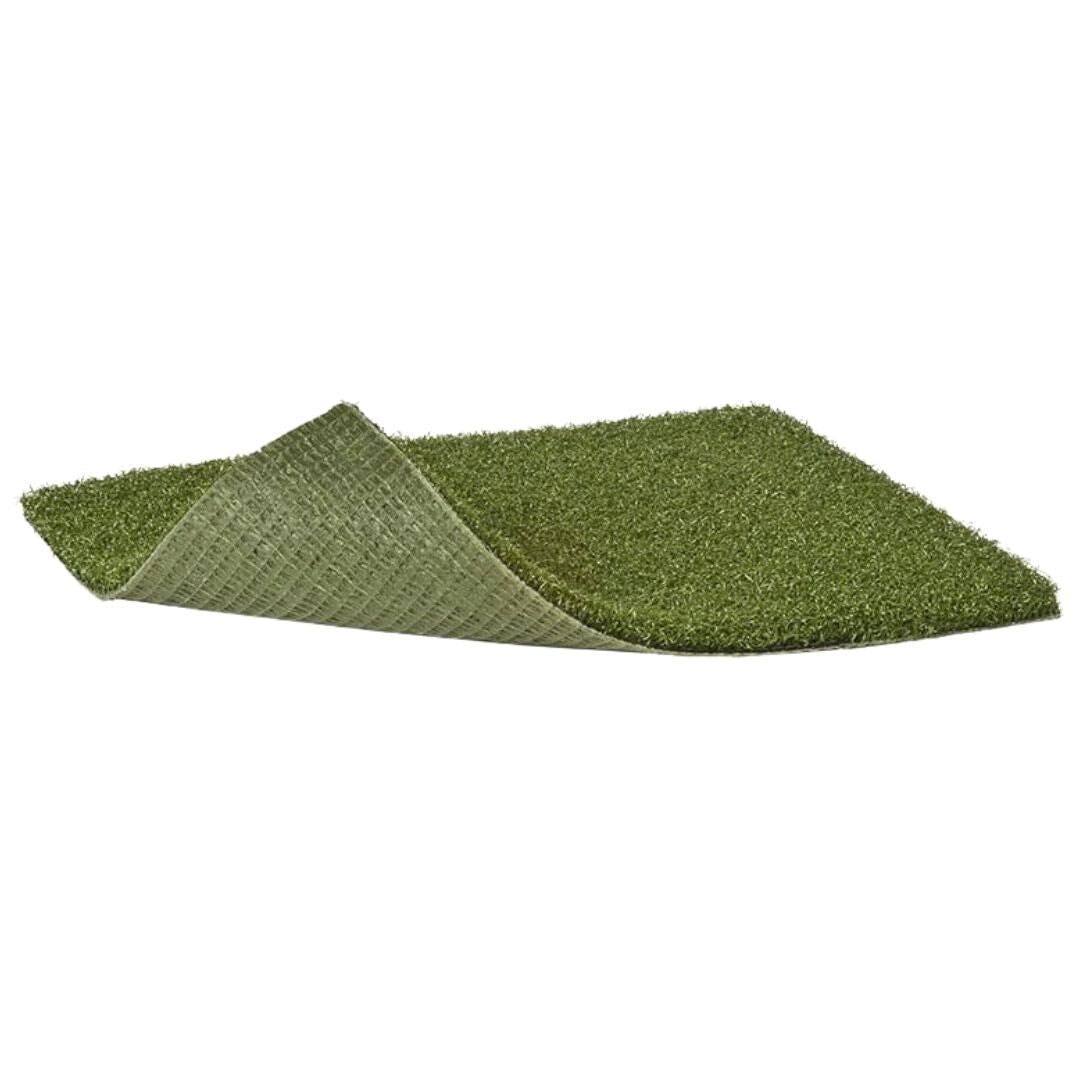
Flooring Installation: Install appropriate flooring, such as artificial turf or a specialized golf hitting mat, to replicate the feel of a golf course and protect your floor.
-
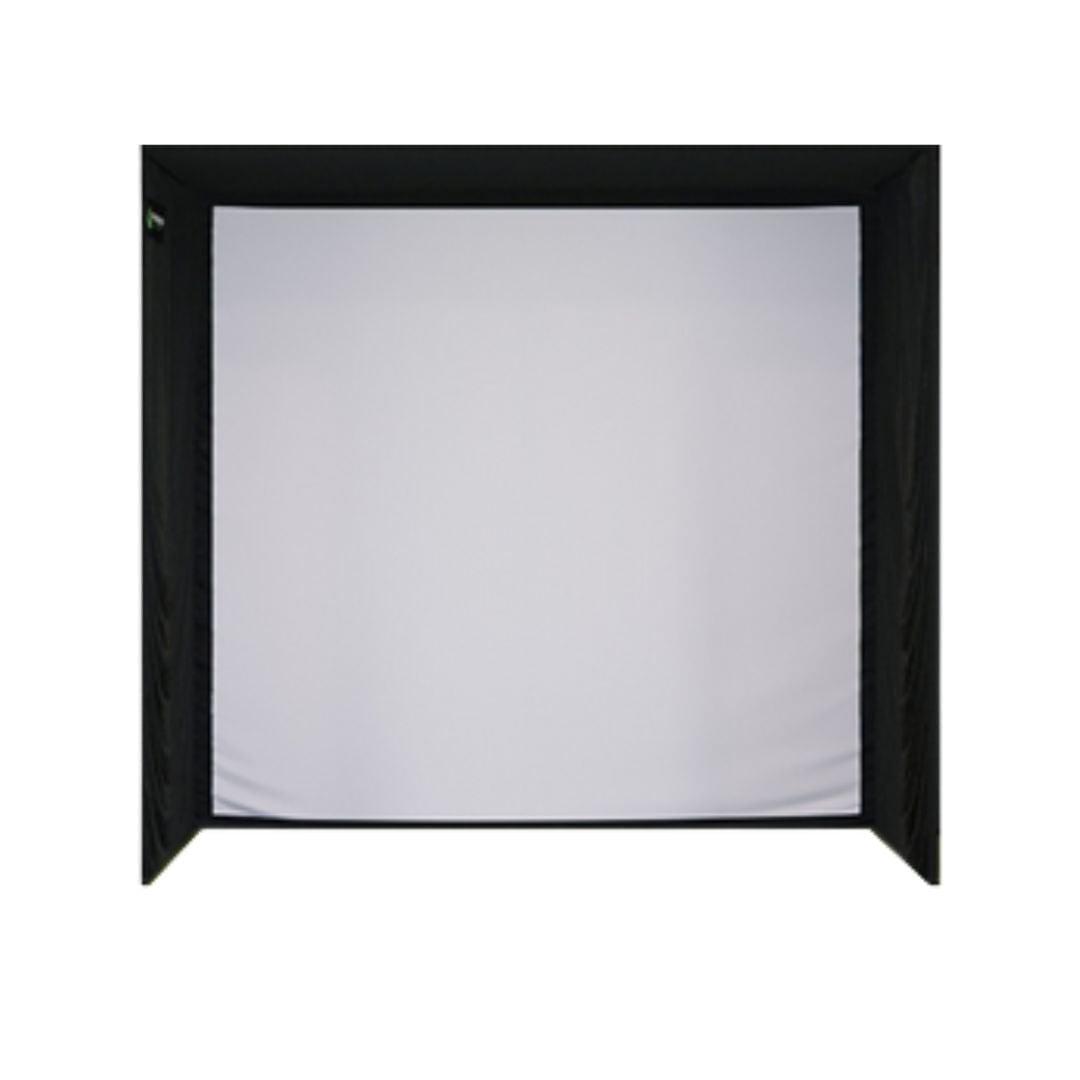
Mounting the Screen: Securely mount the impact screen, ensuring it's tightly stretched to avoid wrinkles which can affect the display quality.
-
Projector Setup: Position the projector correctly, considering the throw distance and alignment with the screen for a clear and undistorted image.
-
Launch Monitor Placement: Place the launch monitor in the recommended position according to its type. Ceiling-mounted models save floor space and reduce trip hazards.
-
Cabling and Power Requirements: Organize cables neatly and ensure there is a reliable power source. Using cable management solutions can prevent accidents and maintain aesthetics.
Calibration and Testing
-
Software Installation: Install and update the simulator software on your computer or console.
-
Calibration: Calibrate the launch monitor and sensors with the software. This step is crucial for accurate tracking of shots.
-
Testing: Test the entire setup with various clubs and swings to ensure everything is working correctly and safely.
Safety Precautions
-
Secure Equipment: Ensure all equipment, especially overhead components, are securely fastened to prevent accidents.
-
Clear Swing Area: Keep the swing area clear of obstructions to avoid injuries and equipment damage.
-
Emergency Shutoff: Have an easily accessible emergency power shutoff in case of malfunction or accidents.
Professional Assistance
While many golf enthusiasts opt for a DIY installation, seeking professional assistance can be beneficial, especially for complex setups or if you're unfamiliar with the technical aspects of installation. Professionals can provide insights on optimal equipment placement, calibration accuracy, and overall design efficiency.
Post-Installation
-
Regular Maintenance: Conduct regular checks and maintenance of equipment to ensure long-term functionality and safety.
-
Updates and Upgrades: Keep the software updated and consider future upgrades to enhance your experience.
Installing a golf simulator is a significant investment in terms of time, effort, and resources. By following these best practices, you can ensure a successful installation that provides a realistic and enjoyable golfing experience. From careful measurement and equipment selection to meticulous installation and regular maintenance, each step contributes to the overall functionality and enjoyment of your indoor golf
Addressing Common Concerns and FAQs
When installing a golf simulator, several frequently asked questions arise, covering various aspects from space requirements to equipment setup. Here, we provide answers to some of the most common queries to help you navigate the process of setting up your ideal golf simulator.
FAQ 1: How much room do I need for a golf simulator?
Answer: The room needed for a golf simulator depends on several factors, including the golfer's height, the type of clubs used, and the desired level of realism. As a general rule, a room should have a minimum ceiling height of 9-10 feet, be at least 12 feet wide, and 12-15 feet deep. However, specific requirements may vary based on individual setups and equipment.
FAQ 2: What is the minimum ceiling height for a golf simulator?
Answer: The recommended minimum ceiling height for a golf simulator is typically between 9 and 10 feet. This height can accommodate most golfers' swings, especially for those under 6 feet tall. Taller golfers or those with a more vertical swing may require higher ceilings.
FAQ 3: Can I use a golf simulator in a room with a low ceiling?
Answer: Yes, but it might require some adjustments. For rooms with ceilings lower than 9 feet, consider using shorter clubs, altering your swing, or opting for simulators designed for limited spaces. Always prioritize safety and comfort in your swing.
FAQ 4: What are the essential components of a golf simulator setup?
Answer: The essential components include a launch monitor to track the ball, a hitting mat, a projector and screen for visual feedback, and sensors for swing analysis. Optional elements can include sound systems, enhanced lighting, and aesthetic enhancements.
FAQ 5: How accurate are launch monitors in golf simulators?
Answer: The accuracy of launch monitors varies depending on the brand and model. Higher-end models offer greater precision and can track a wide range of data such as ball speed, launch angle, spin, and distance. For the best results, invest in a reputable and tested launch monitor.
FAQ 6: What kind of maintenance does a golf simulator require?
Answer: Regular cleaning of the screen, sensors, and hitting mat is necessary. The electronic components, like the launch monitor and projector, should be kept dust-free. Also, periodically check for software updates and calibrate the equipment as recommended by the manufacturer.
FAQ 7: Are there space-saving options for golf simulators?
Answer: Yes, there are compact and retractable golf simulator models available that are suitable for small spaces. Ceiling-mounted options for projectors and screens can also save floor space.
FAQ 8: How important is lighting in a golf simulator setup?
Answer: Proper lighting is crucial. It should be bright enough to see clearly, but not so bright that it causes glare on the screen. Adjustable lighting is ideal to create the right ambiance and improve the visibility of the projection.
Conclusion
The ceiling height for a golf simulator is a crucial factor that can significantly impact your indoor golf experience. Whether it's for a commercial setup or a home golf simulator, ensuring the right space requirements and considering the dynamics of the golf swing and golf club types are essential. With the right golf simulator room dimensions and careful planning, golfers can enjoy a realistic and satisfying golfing experience indoors.