 from
$499.95 USD
$534.95 USD
from
$499.95 USD
$534.95 USD from
$999.99 USD
from
$999.99 USD from
$640.00 USD
from
$640.00 USD from
$999.95 USD
from
$999.95 USD from
$1,599.99 USD
$3,099.99 USD
from
$1,599.99 USD
$3,099.99 USD from
$3,409.95 USD
from
$3,409.95 USD $2,299.00 USD
$2,499.00 USD
$2,299.00 USD
$2,499.00 USD $2,899.00 USD
$3,199.00 USD
$2,899.00 USD
$3,199.00 USD $4,899.00 USD
$5,499.00 USD
$4,899.00 USD
$5,499.00 USD $5,000.00 USD
 $6,500.00 USD
$7,000.00 USD
$6,500.00 USD
$7,000.00 USD $4,999.99 USD
 from
$7,759.85 USD
from
$7,759.85 USD from
$9,259.85 USD
$10,847.80 USD
from
$9,259.85 USD
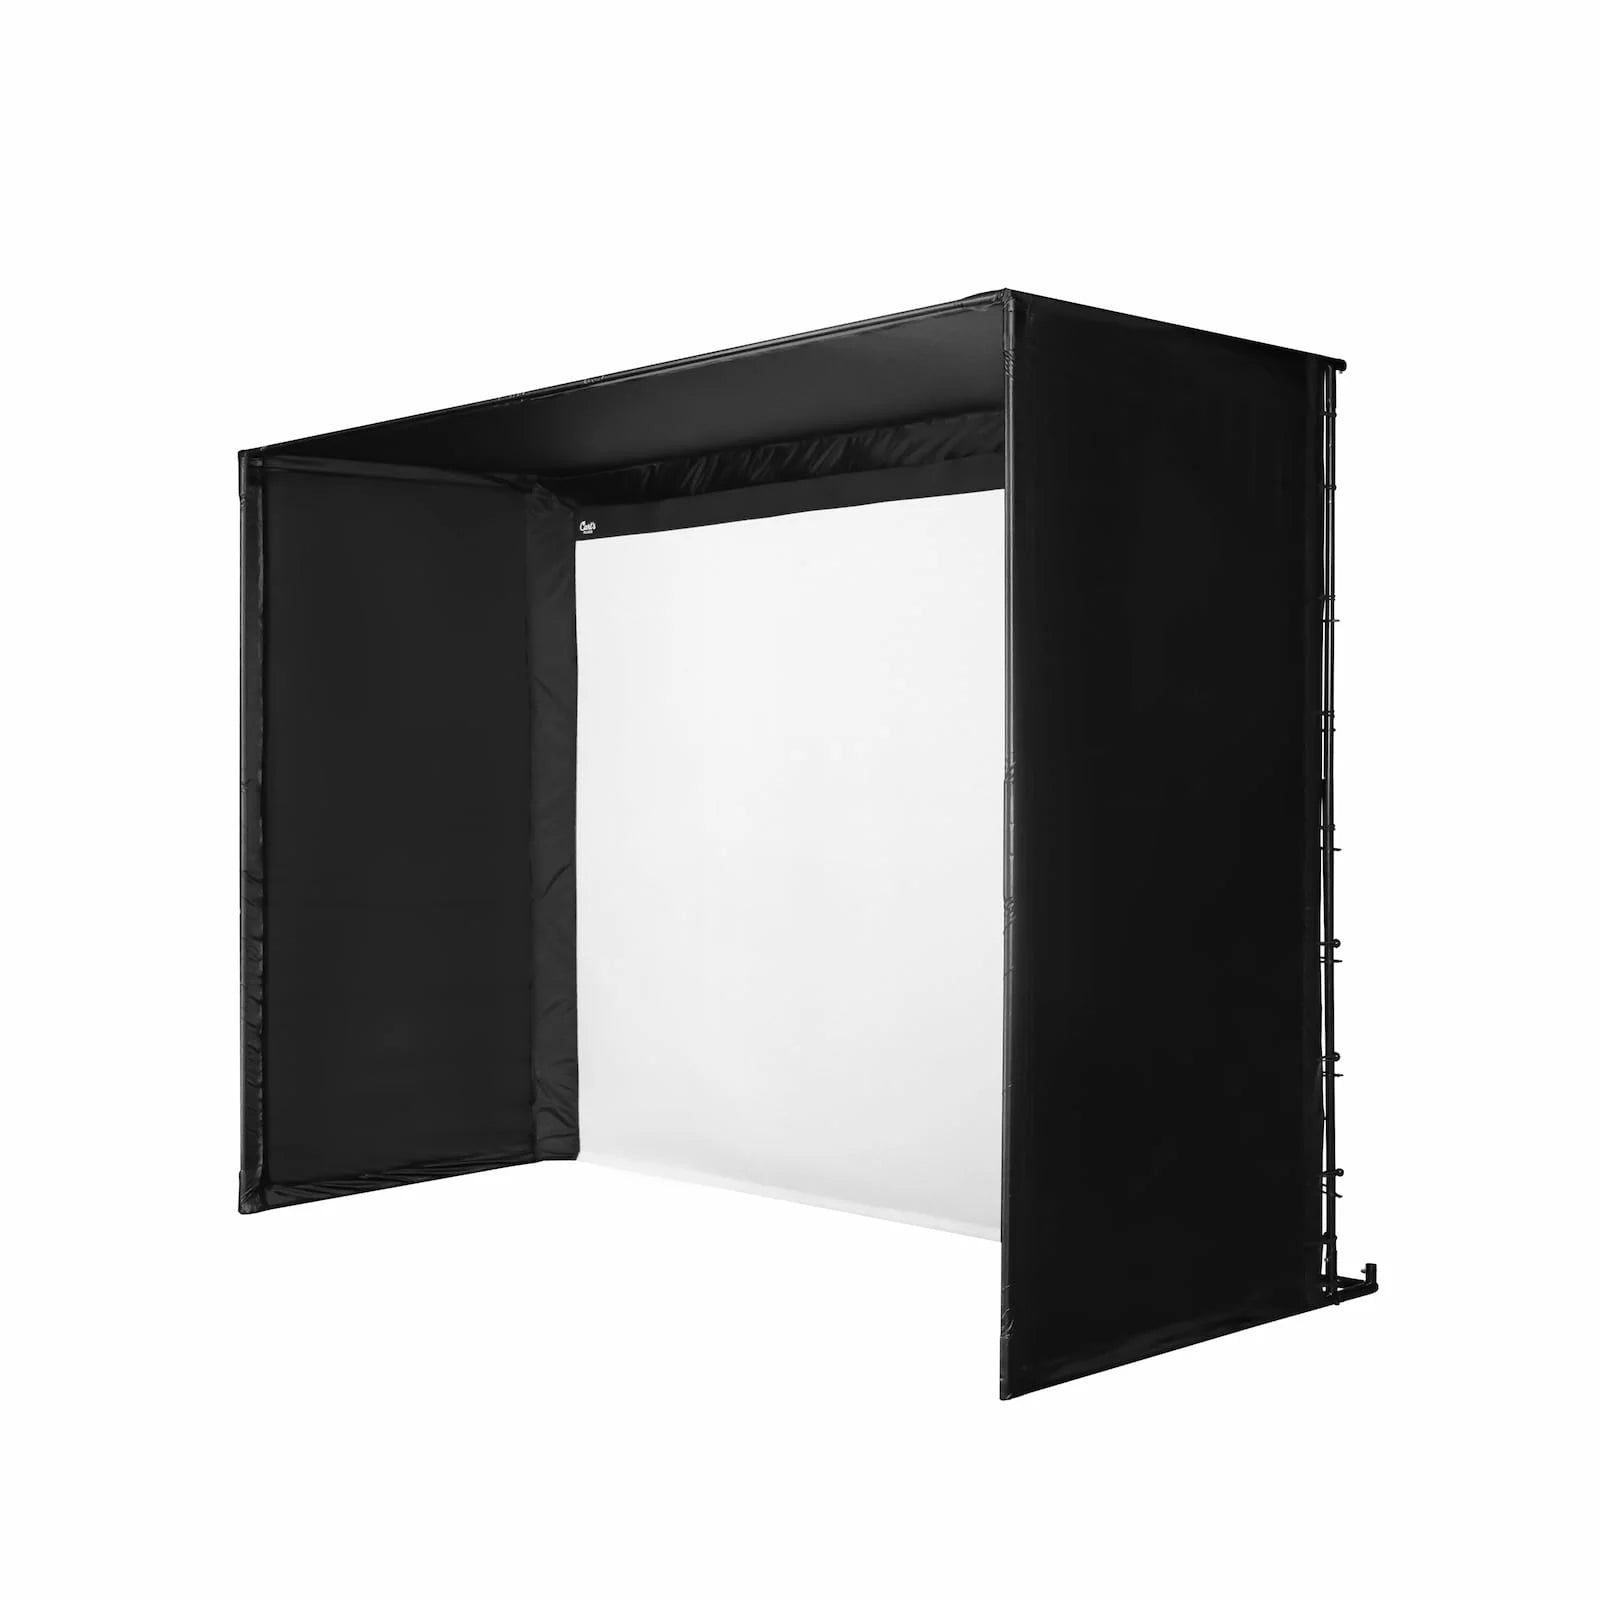
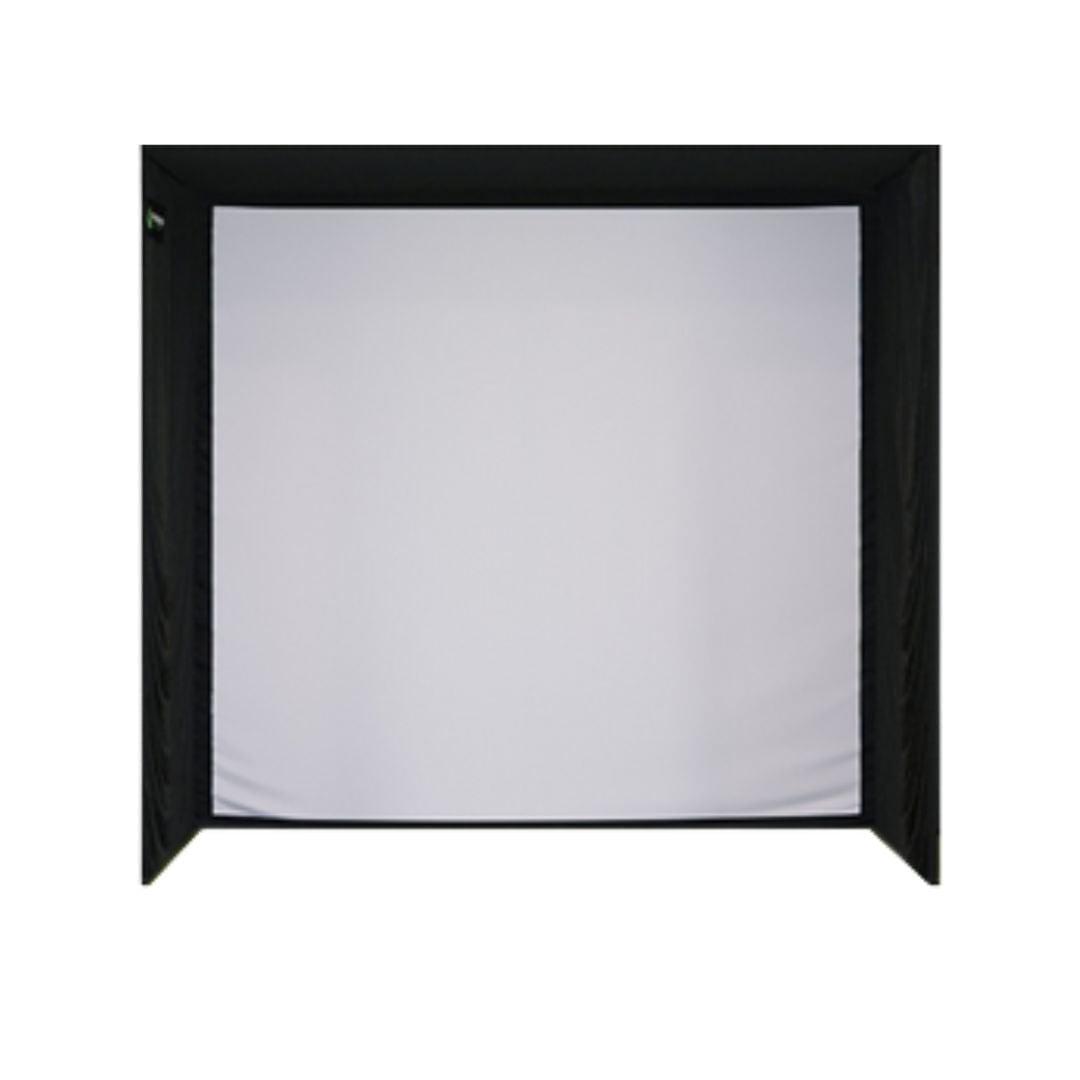
$10,847.80 USDThis video describes how to set up and install a Carl's Palace enclosure.
At Carl's Place, our golf simulator enclosures are designed to beuser-friendly and easy to assemble. In this video, we will walk you through thesetup process for our DIY enclosure kit and provide sometips and tricks to help along the way.
Before starting, organize your kit bysize and shape. YourDIY kit includes:
1-inch steel fittings
Black nylon enclosure cover and impact screen
Cable receivers
Ball bungees
Releasable zip ties
Pipe framing kit
Vinyl ceiling baffles
Foam inserts
Net wall extensions
Back cover kit (includes additional fittings, pipes, and instructions)
Note: If you purchased yourDIY kit without the pipe framing, you will need to buy EMT from alocal hardware store and cut it to size.Detailed assembly instructions are included to guide you step by step.
To assemble your enclosure, you will need:
1/2-inch combination wrench or socket wrench
3/16-inch hex key or bit
Measuring tape
Rubber mallet
Pliers
Two 8-foot-tall step ladders
Before starting, ensure you reference yourframe assembly sheet included in your kit. This sheet outlines thespecific dimensions for your ordered enclosure.
Before inserting EMT pipes, ensurefitting screws are loose to prevent interference.
Lay out your width and depth pipes in aU-shape on the floor.
AttachL fittings at the front of the enclosure andcable fittings at the rear.
Insertheight EMT pipes, placing three-way connection fittings at the top of each rear height pipe with thenub facing the rear.
When assembling thetop half, workfrom back to front, ensuringC fitting bolts face therear.
Tighten all screws using a1/2-inch wrench.
Measure the frame to verify it matches the dimensions on your diagram.
Align thegrommeted edge with the back of the frame.
Ensureall hook and loop flaps face theinside of the frame.
Inside corner flaps
Bottom flaps
Side flaps (attach hook fasteners to the closest loop strip, leaving the rear loop strip for optional net walls)
Top flaps
Insert theloop end of theball bungee through a grommet until theball stops it.
Wrap thecord loop around theframe tubing.
Hook theloop over the ball to secure it.
Ensurebungees face the back of the enclosure.
If you purchased vinyl baffles, now is the time to install them. Hang them with thematte side facing the front and stretch them across the frame usingbungees or zip ties.
Prevent the screen fromtouching the floor to avoid dirt.
TheCarl's Place logo should be at thetop-left corner.
Secure the top corners withtwo zip ties per corner (one in each direction).
Loosely hang zip ties along thetop of the screen.
Locate thesmall hole at the base of therear corner fittings.
Insert thecable through the fitting and secure it withfour turns of the cable receiver.
Repeat on theother side, loosening the first receiver if needed.
Tighten the cable just until taut (do not overtighten).
Usepliers to hold the cable in place while tightening the receiver with a3/16-inch hex key.
Revisit the top zip ties to ensure proper hanging.
Tighten each zip tie starting at the corners, ensuring the bottom edgerests level with the floor.
Add zip ties to the remaining grommets, ensuring:
The screen doesnot stretch.
Aneven gap is maintained between the screen and pipe.
Wrap bottom zip ties under and around thebottom pipe.
Pro Tip: The bottom of the screen shouldbarely touch the floor. As it relaxes with use, fine-tune the zip ties as needed.
If you purchasedfoam inserts, install them now:
Place thelongest 80-inch foam pieces in eachbottom corner.
Positionshorter foam pieces at thetop, reaching the ceiling.
Ensurenarrow edges face the frame.
Secure foam withhook and loop strips.
Fill thetop edge of the screen flaps with the remaining foam.
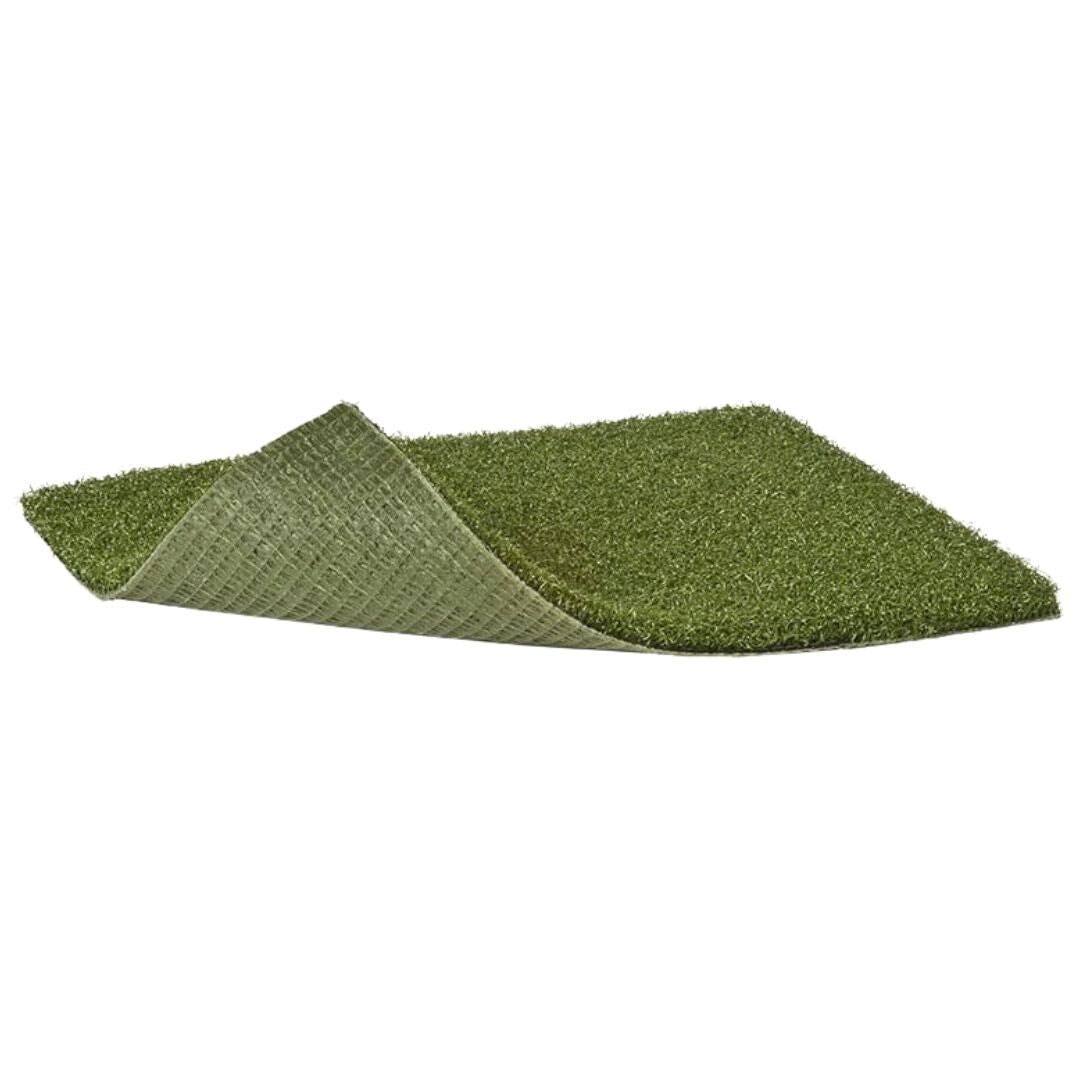
Turf Installation: Adding turf to a hard floor minimizes bounce. Ensure the turf fitsfully inside or outside the frame for stability.
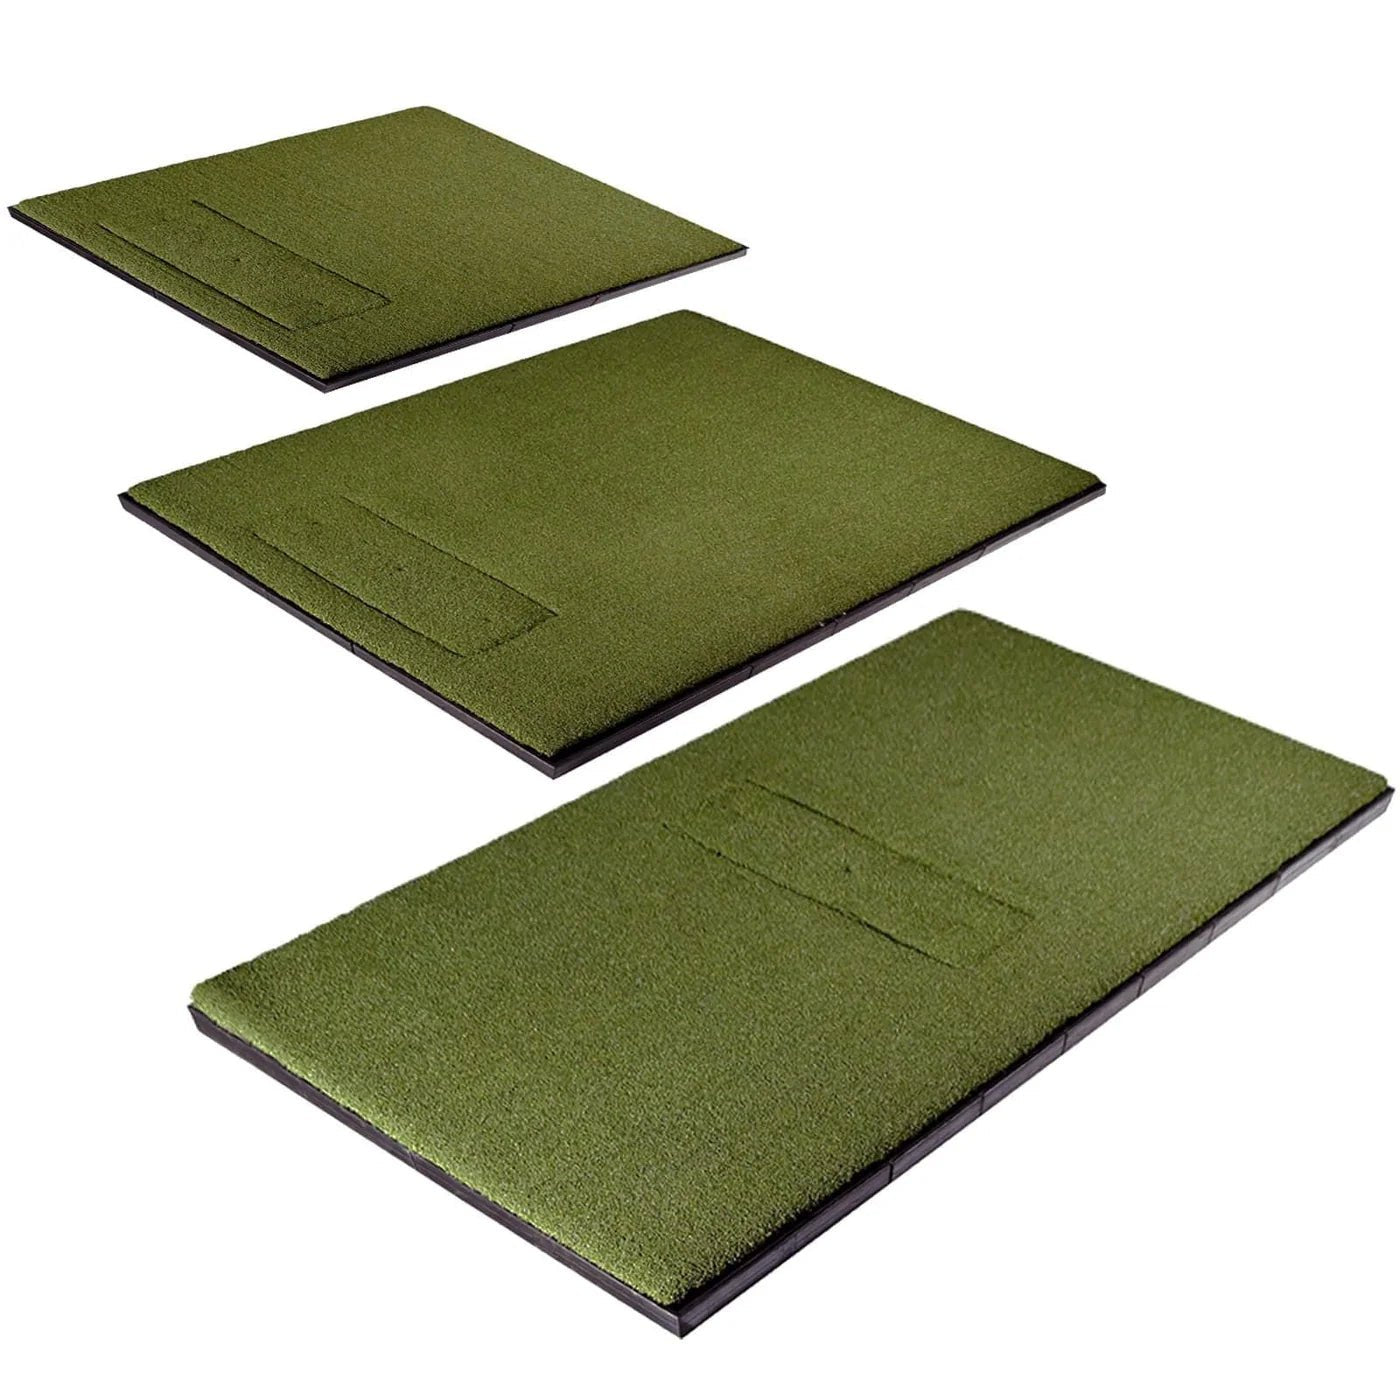
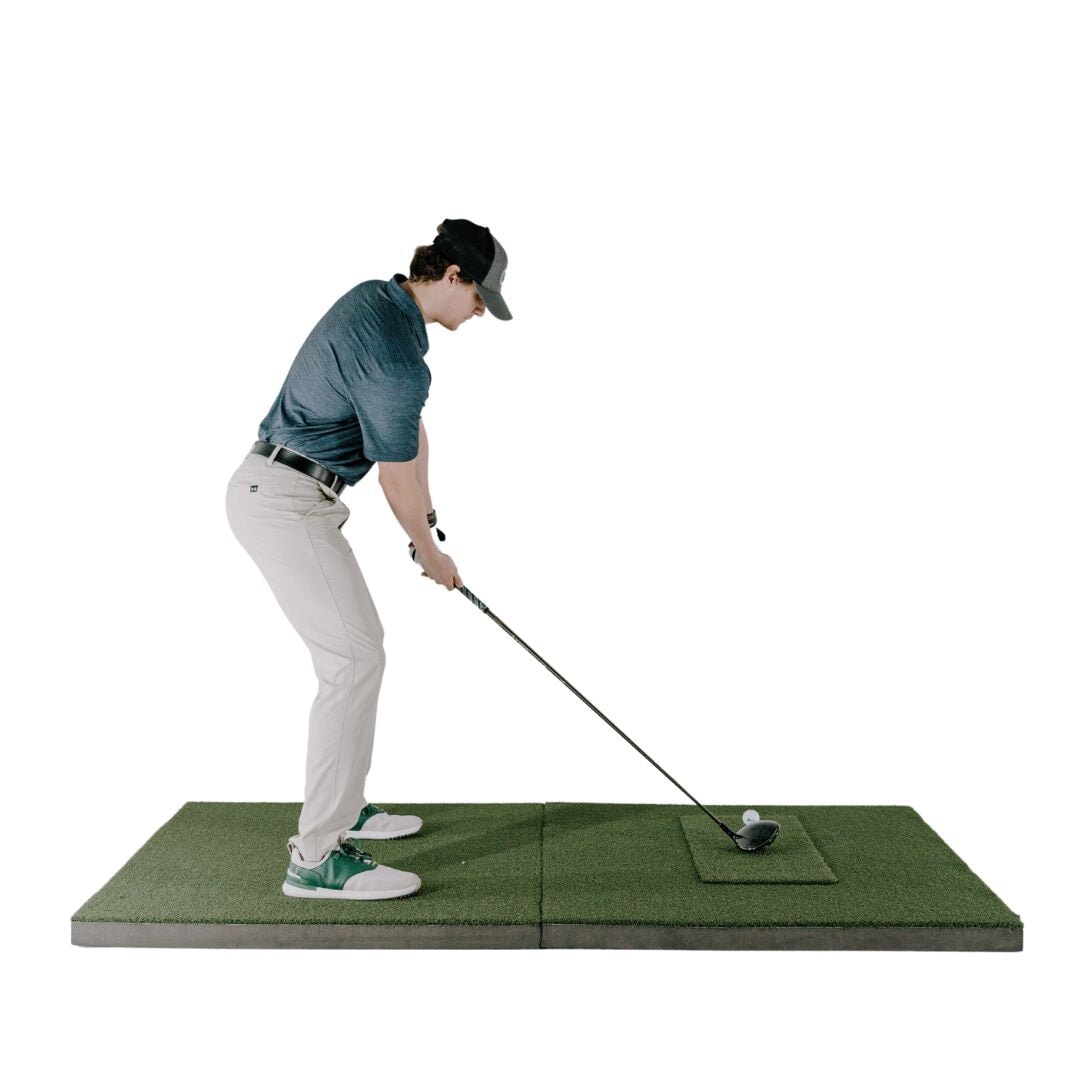
Carl's Hitting Mat: Enhance your setup with apremium hitting mat.
Net Walls: Protect against stray shots.
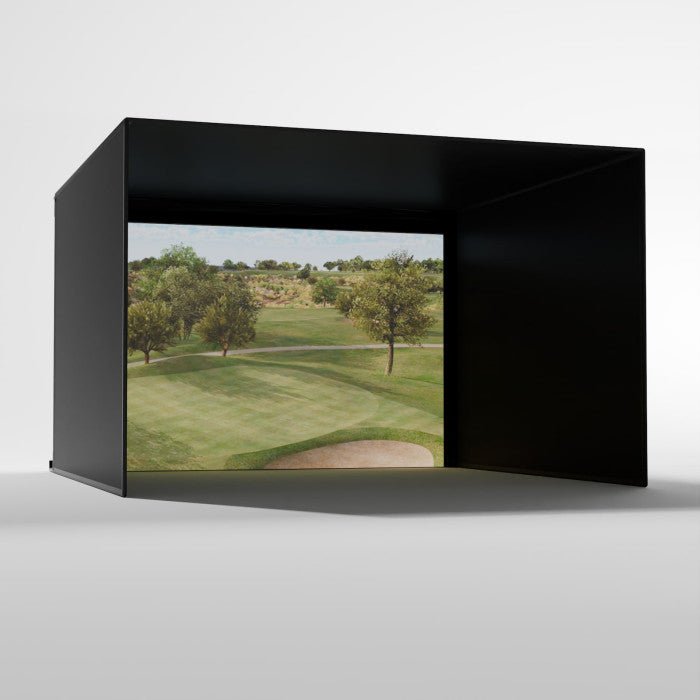
Back Cover Kit: If installing in a space withambient light, consider adding aback cover kit for betterimage brightness.
Congratulations! YourDIY golf simulator enclosure is now complete. Here are a few final tips:
Use new golf balls free of scuffs or marks to prolong screen life.
Share your setup! Visitwww.carl.com to send us pictures, videos, or reviews.
If you havequestions or feedback, feel free to:
Email us
Call us
Visit our website
Be sure tosubscribe to our channel for more videos onbuilding, using, and enhancing your golf simulator enclosure.
Thank you for choosing Carl’s Place!